Showing posts with label documentation. Show all posts

Sunday, 14 February 2021

Unity + Oculus Integration on Mac

The Chinese New Year Weekend is too short! I want to spend maximum fun time with the Bean, and get some catching-up-with-sleep-time, but I also want to learn how to make something for Oculus using my Mac alone?? I found several posts online claiming to be able to teach you to set up your Oculus device in 10 minutes. HA I suppose they definitely didn't use a Mac for these speed runs (my Mac has now decided that its new calling is to mimic the hideous sound of an airplane taking off). Still, I persist in valuing the retina display+portablity over practicality and doing everything on my Mac. Will I be forced to retreat back to using a PC again after much frustration? Let's find out!

FUN FACT: According to Rescuetime I spent 33 minutes in total in Unity in order to complete these steps on my 15" Macbook Pro 2019, including all the downloading and importing. The writing of this documentation is probably taking far longer.

The Oculus is a type of Android device so have to check for Android Build Support in the version of Unity I'm using. Just created a 3D project in Unity in the version of Unity I happen to be using.
Unity Asset Store has this default "Oculus Integration". Whilst waiting for that to download, I saw there were so many different integration packages out there for VR and more. Actually got lost browsing all the rather interesting sounding "Tools/Integrations" category on Asset Store. Which ones do the most interesting things? NO CLUE. I guess I will just try Oculus Integration first before actually trying the others.
There are several updates and Unity will need to restart, after which there will be some new Menu items for Oculus like this:
Under Edit > Project Settings > Player > XR Settings > Virtual Reality should be supported.
Another step I would add in is to preemptively remove Vulkan Graphics API, because if you don't, it will throw up an error about XR being incompatible with Vulkan. (Alternatively, I suppose one could go into the OVR scripts which is stopping the build and find the lines where it checks for Vulkan and comment out the checks?)

So I also went to read up on Vulkan Graphics API and what it does - the internet says: "Until now, the mobile graphical interface has been using the OpenGL platform. While the platform was suitable for intense mobile applications like gaming and photography five years ago, the old platform isn’t enough to handle today’s AR/VR intensive applications. It is also not possible to pack in massive hardware in a restrained form factor for running intensive mobile applications. The Vulkan API was developed by Khronos to ensure improved graphical performance with lesser resource usage. The new API has been built from scratch for rendering console quality graphics on existing mobile hardware. What that means is you will be able to enjoy the PC-like graphics on your high-end smartphone". ALRIGHT BUT WE WON"T USE IT.

OH WAIT AS OF 1 FEB 2021 the internets say that Unity now supports Vulkan for Oculus Quest? ¯\_(ツ)_/¯

Ok whatevers. At this point I just removed Vulkan for the time being so I can continue.
Next is to create a developer account and app ID. Now I definitely have mixed feelings about the Facebook integration, which means I have to take several precautions regarding privacy. If I was buying a VR headset only as a casual user, then the issues with forcing users to login with a Facebook account would make me reconsider getting this device. However, the reason I've gotten a Quest 2 is for portability in VR development. Consider all the factors on your own before getting a VR headset device!

Go to http://dashboard.oculus.com/ in a different browser and set up the Developer account.

Connect the Quest to the Mac with the usb cable. Under Build Settings > Android > the Quest should now be available as a device.

Build & Run > and when its done, you can put on the headset and it will start to load your scene. Probably could have used the prefabs to make a scene but there are some demo scenes that came with so I just loaded that first.

Wahooey a demo scene!


NEXT STEPS?

Tiltbrush? Building Tiltbrush which has gone opensource?

How does I workflow???: Workflows: The process flows you should follow

How to screenshot on Oculus Quest 2? Press the Oculus Button + any trigger button. The app needs to have permission to save to storage beforehand.

Where do the screenshots on Oculus Quest 2 go to? Turns out that the Quest is a kind of Android device so on a Mac you have to download Android File Transfer and find screenshots under Oculus > Screenshots.

Saturday, 13 February 2021

VOID: Documentation and Process


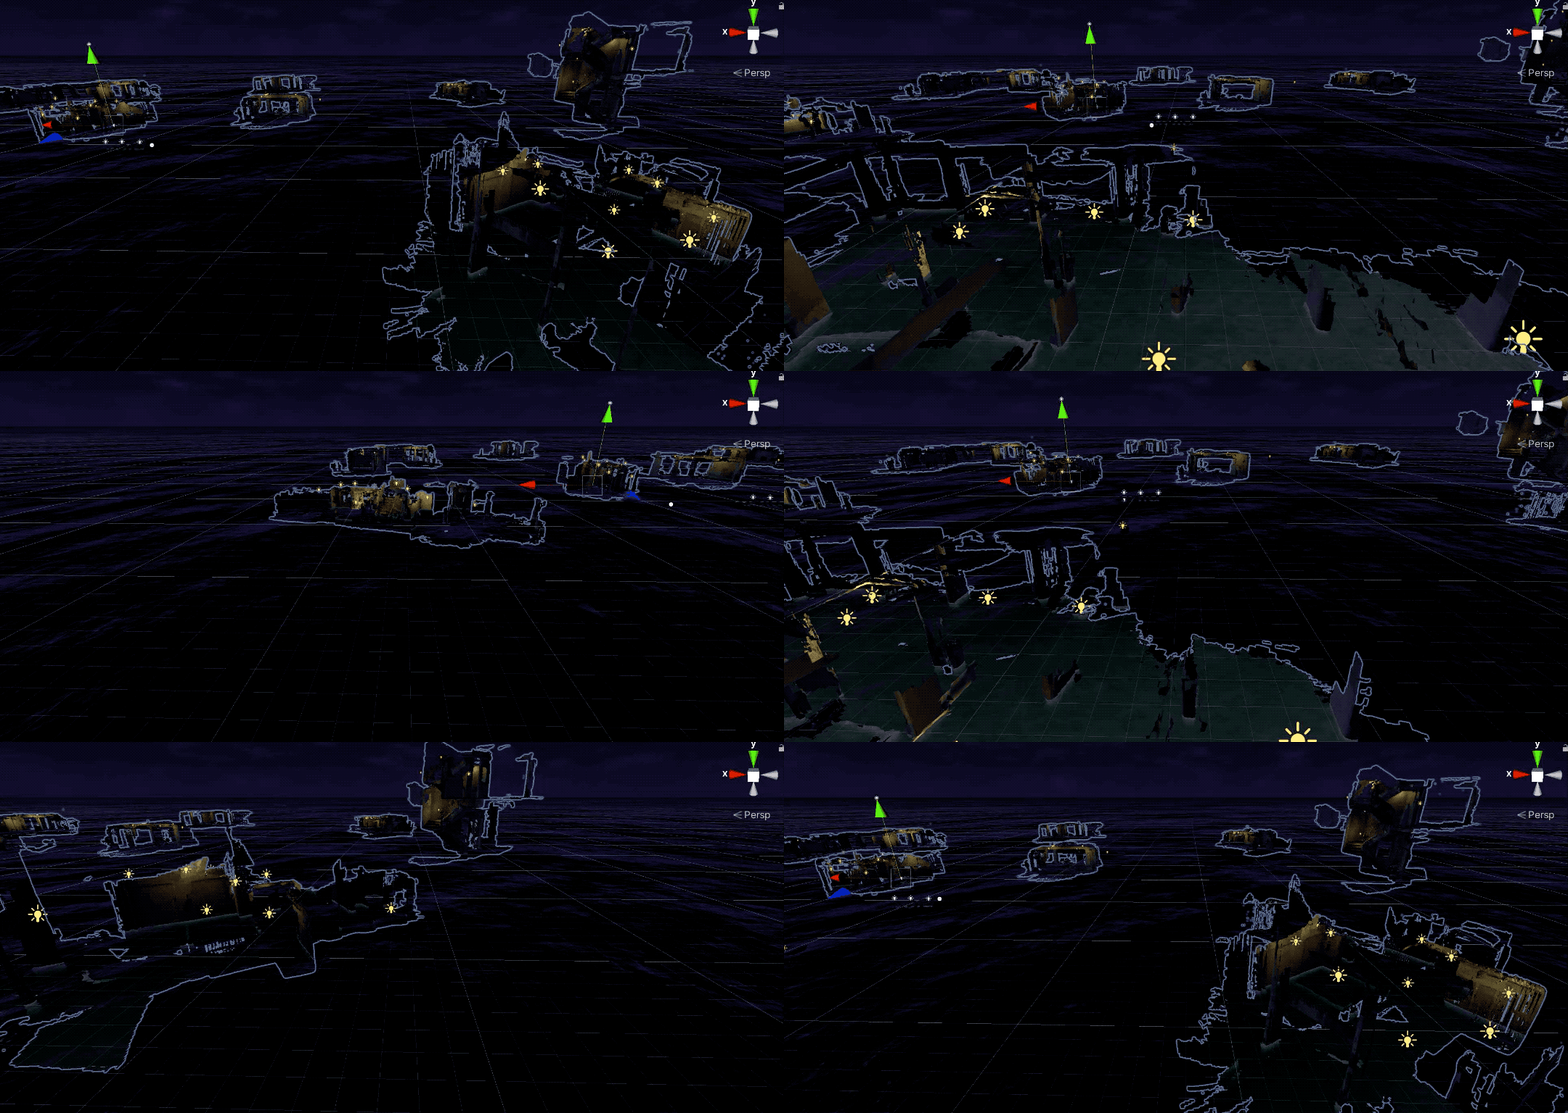
VOID started with a bunch of 3D scans. This was the first scan I made whilst waiting at the corner of the void deck for a taxi. The funny thing about this scan was that you got quite a good view of whatever I was looking at, but there's a empty void behind my two legs, where the scanner couldn't reach, which makes it look like sootmark traces in the aftermath of an explosion. There are numerous 3D scanning apps available for iPad Pro and it is easy to export the data as an textured OBJ or glTF/glb and the file can be quickly imported into Unity.

Gameplay images from VOID

These days I spend quite a lot of time waiting for taxis to take me and Beano between places. The timing is such that I frequently end up commuting at daybreak or at night, catching glimpses of dimly lit buildings and sleepy carparks through the darkness. The two destinations I frequent (my house and my parents') are incidentally both what you might consider somewhat complicated places to get to, so there are many opportunities for a grab or taxi driver to become lost or give up the will to find me in the midst of all the one way road systems. So... there is a lot of waiting, during which I've ended up scanning void decks, mining it for material...

Void deck waiting area

When Shih Yun first invited me to show something at OTHERWORLDS, I had several other experiments and drafts that I thought of showing, which I realised over time to be unnecessarily complicated. A good game is not a collage. A game does not necesssarily get better from having more elements in it. I realised that I liked my growing collection of Void Deck scans... and I wanted to make something out of all of them.

HDB Scans from Veerasamy Road

The only weird thing about doing this is that after staring at it in a dream-like state within my game for so long, it is kinda weird to still walk through the same corridors on an everyday basis.
An obvious reference for the work is "In the Night Garden", a show that Beano has been watching a lot of. Some years ago I remember once attending a lecture in the basement of RCA. The details of this lecture eludes me except that the visiting speaker was a new sleep deprived father who had watched a whole lot of "In the Night Garden" recently with their toddler. He apparently had some near-religious epiphany with regards to the philosophical meaning behind "In the Night Garden" and I only have the merest impression that he had meticulously tied it up with an elaborate history of design or critical design or radical italian design pedagogy from the 1970s or whatever it is that RCA design students get lectured to about (and that I was impressed with the mental leaps of the lecture). It thus seems typical that now in my own sleep deprivation of caring for the Bean, I do not recall that useful gem that this forgotten speaker had wished to impress upon us, that rare and useful tidbit that he had gleaned from the watching of "In the Night Garden".
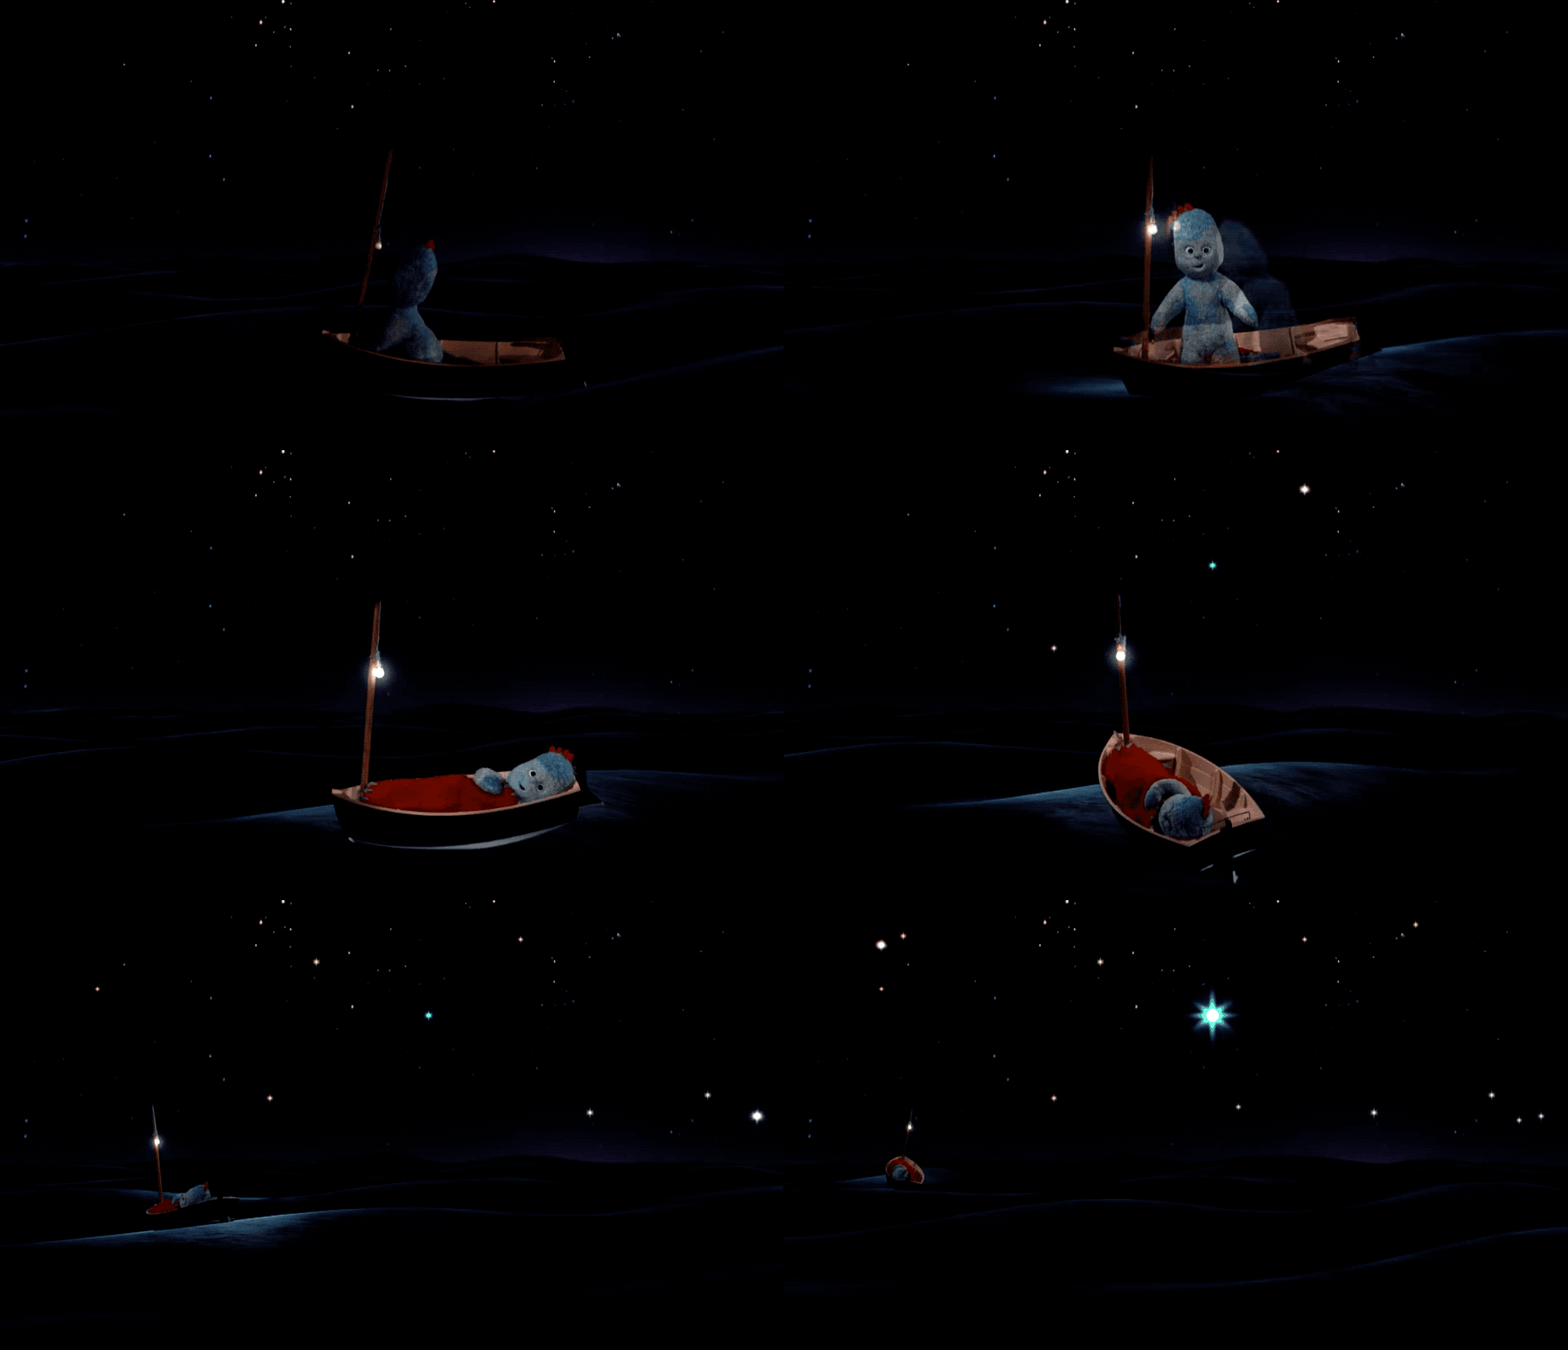
A Screenshot from "In the Night Garden"

Now as I am watching and rewatching pixelated copies of In the Night Garden via youtube on an old and heavily bumpered ipad, I am only left with questions. WHY IS IGGLE PIGGLE ALONE IN A BOAT AT NIGHT? WHERE IS HE SAILING TO? IS THE NIGHT GARDEN THE FEVER DREAM OF AN IGGLE PIGGLE LOST AT SEA? IS IGGLE PIGGLE ALRIGHT? WHERE EXACTLY IS THE NIGHT GARDEN?

Another reference for this work is a scene from another children's show - Steven Universe. Years back I used to catch bits of it and I remember thinking that it was way too childish for me (I probably even said something like "I dont know what people see in it!!!". But when I was on maternity leave I somehow ended up binge watching seasons of it all at one go in the middle of the night. It was when I watched this episode that I was suddenly SOLD on the show, because seeing a nightmare version of the city made me realise that they had done such a good job of painting Beach City to me in the previous episodes. They needed audiences to have built up a good mental map of Beach City before hitting us with a nightmare version of it - otherwise the episode would not have any impact. It is funny that I almost feel kinda nostalgic rewatching old episodes of Steven Universe, because the show now gives me a feeling of Beano being really tiny. I suppose this is the video version of "song that happens to be playing in the background during a defining period of your life". I really love the thoughtful, gentle way in which the show handles topics such as mental health, parenting, and relationships - and I guess I envisioned it being a beautiful cartoon for Beano to enjoy watching with me, one day in the future...
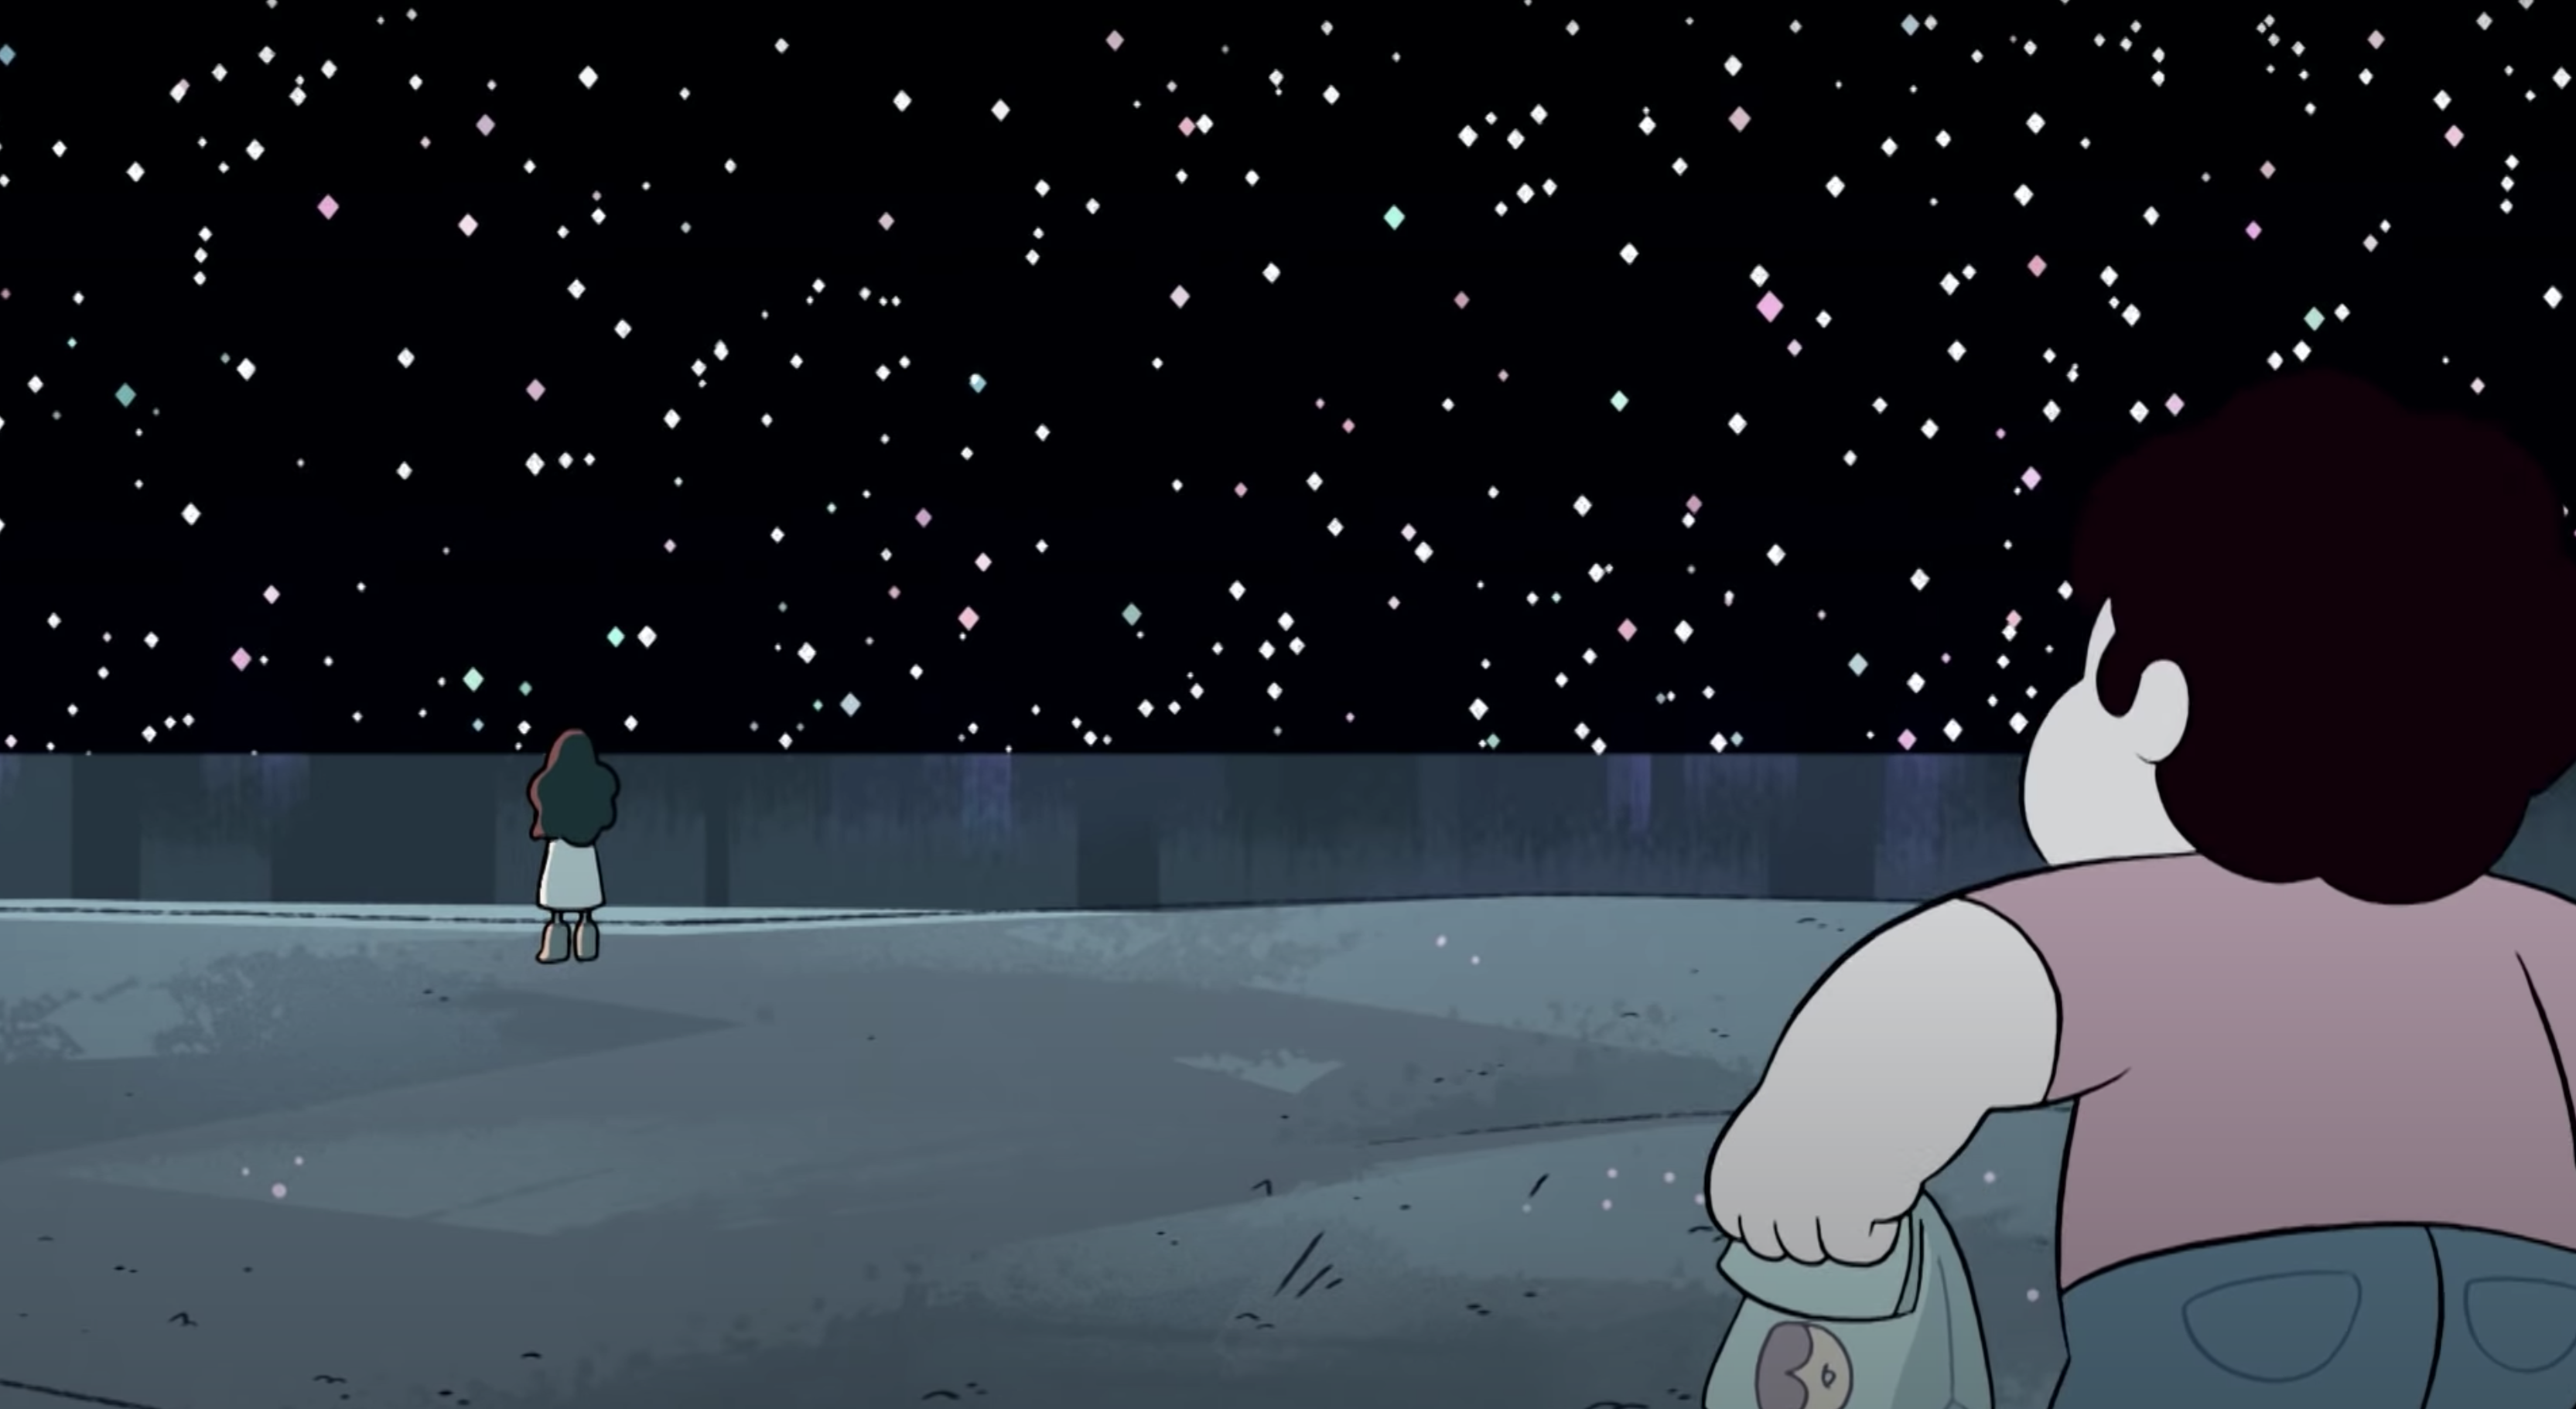
"Rose's Room" (Season 1 Episode 19)

In this episode, Steven discovers that his mother's magical room can fulfill any wish he asks for. After asking it for a bunch of silly things, he is hungry and decides to go get a donut from the shop in Beach City, and he thinks he has stepped out of the room to get a donut, but actually Rose's room has generated a parallel Beach City. Everyone is speaking funny and he runs to the water's edge where he finds the waves are not working properly. Finally after a terrifying time in the city, he realises it is a dream when he tries to eat his donut and it poofs.

Enough of the back story, here is the work!


VOID IN THE CAVE

Shao from DUDE.SG combined all our works into the CAVE setup for the exhibition at Gillman Barracks - a 3 screen kinect based interactive virtual environment! The boat was self-propelling, but it would turn according to the direction of the user's body.
Due to safe distancing measures, the gallery could only accomodate a fixed number of people at one time, so queues outside built up to insane levels. Whilst the show was incredibly short, I heard that there were about 600-700 people who came through each day, so at least we know that many people got to try it!


PRODUCTION NOTES

A few notes here on issues I encountered along the way:

Water in the Boat - Convex Hull

So I wanted to get a boat floating on a sea. I didn't reinvent the sea, no, if you must ask. I did this version with Crest, an existing ocean renderer system for Unity 2019.4.8 and later. A real boat actually displaces the water, so at first when my boat was in the water the ocean rendered into my boat. The fix is to add a convex hull (take the shape of your box and create a shape which is the smallest solid closed convex shape of itself) and then use a script to disable the rendering of the water where the convex hull is located inside the boat. No more water inside boat.

Resolution

One thing I’ve blithely not comprehended before was that on a MacBook with Retina display, the pixel density is twice that of the norm, therefore instead of 72dpi it is actually 144 dpi, meaning for every 1px there is actually now 4px (2px x 2px), hence when I take screenshots/screencaptures that do not account for the embedded dpi setting of 144dpi, they will come out twice as big. A crucial issue when trying to screencapture my game as a gameplay video…

Colour / Dropped Frames / Understanding Unity Profiler

Monosnap is the trusty screenshot app I've used for several years now. Using it meant that I never had to really think about how I really wanted to compress things, because I just trusted it to quickly crop and compress things for me (whether image or video). However, most of what I've been screenshotting with it so far have been things like annotations of images and lectures, for which colour is not much of a big deal. Well, my lazy days are ending. Using it to capture a gameplay video this time around showed me that maybe I need a better long-term solution for gameplay screencapture (possibly even an internal game recorder?) because (1) there is something going on with the colour (probably to do with conversion from 10 bit colour to 8 bit colour, which flatten my subtle purples to black), and (2) there is also something going on with dropped frames, which I am guessing is possibly my macbook pro's gpu being not up to the task of, so it all points to (3) that I probably need to watch more tutorials on how to properly use the Unity profiler to improve the performance of my game... ¯\_(ツ)_/¯


COMING SOON: VOID IN VR?

Monday, 15 June 2020

New motherhood is like a trip to a foreign country: Flatlands


Here's a recent visual experiment that I made in the stolen moments of Beano's naps. The setting is the 3-room rental flat we used to stay in, a very mundane 3-room "New Generation" (slab block) default template HDB flat built back in the 70s and 80s. And I think I've finally found a way to explain this thing that I've tried to explain many times before (but struggle to explain, similar to how its hard to explain my experience of taste-shape and mirror-touch synthesthesia).


For me, at any one time I always feel other superimpositions or juxtapositions of other places that feel a bit like memory palaces where I can store facts, thoughts, and memories of another time. Its hard to explain, but it is like when you have a work phone call, you might start doodling nonsense on a piece of paper. But in my case, when I start to daydream or let the mind wander (also: this happens when I am extremely focused on an urgent task and everything else zones out), I always end up recalling a visual memory of a place I've visited in the past. I am imagining tracing out its contours, I am imagining what the details must be like, what the lighting must be like. Honestly, I can't really explain why certain views for me just keep popping up as the 'memory palace', as some of the locations are pretty inconsequential and emotionally insignificant to me. Yet! My mind returns to them for further rumination. To what end? I do not know.

I began writing the following some time back when Beano was a much smaller baby. But now that we are all locked down at home for the corona, and I haven't left the house and its vicinity in days, fleeting memories of parks I've walked in come to mind. I found myself scrubbing through these albums trying to find the name of a particular memory that may as well be a dream. There was something oddly compelling about these images I had taken of my walks and frustratingly I COULD NOT FIND THAT ONE IMAGE OF THAT ONE WALK IN MY MIND. And turns out some of these images are pretty weird. Why are there no people in them?

It was always in the back of my mind to do something with this huge lot of photographs, so.... now they have ended up in this visual experiment. I actually think it looks better than I expected it; so I think I might even make more of them soon...


New motherhood is like a trip to a foreign country. Firstly, the middle of the night feedings are conducted in near-darkness, with the endless droning of the white noise machine in the background, and some random show on Netflix playing to sustain your consciousness beyond all normal hours lest you fall asleep on the sofa and baby accidentally rolls off; not unlike when one takes a plane and night-time is arbitrarily enforced upon you, the sound of the engines whirring is ubiquitous, and all you've got to watch are some random blockbusters or episodes of Big Bang Theory on the inflight.

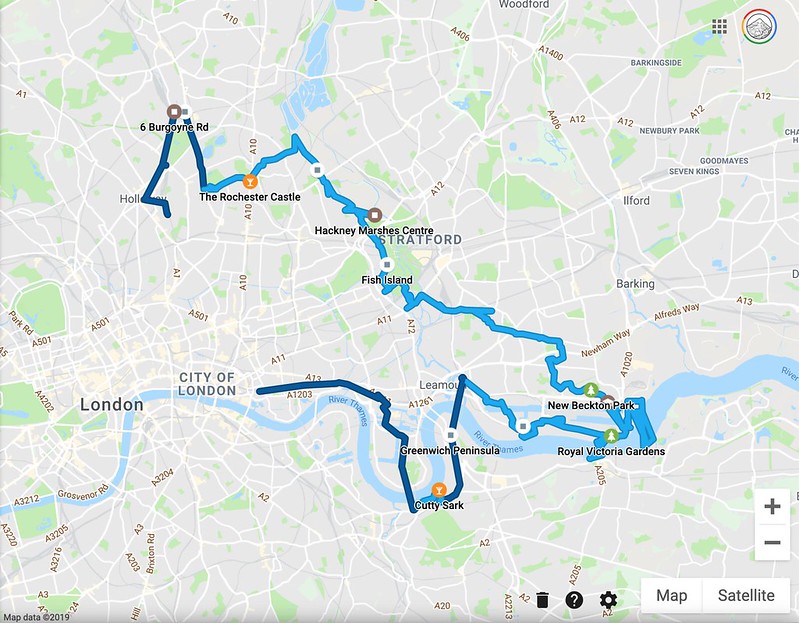
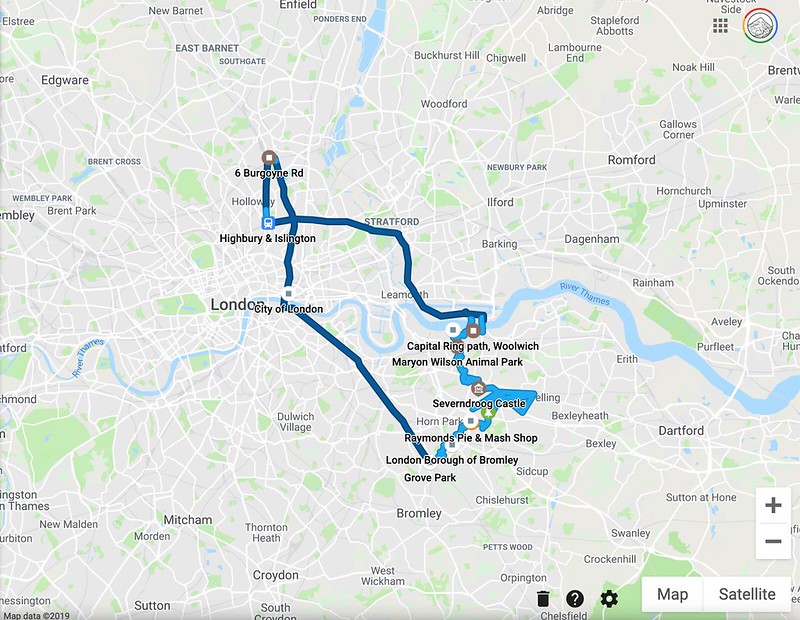
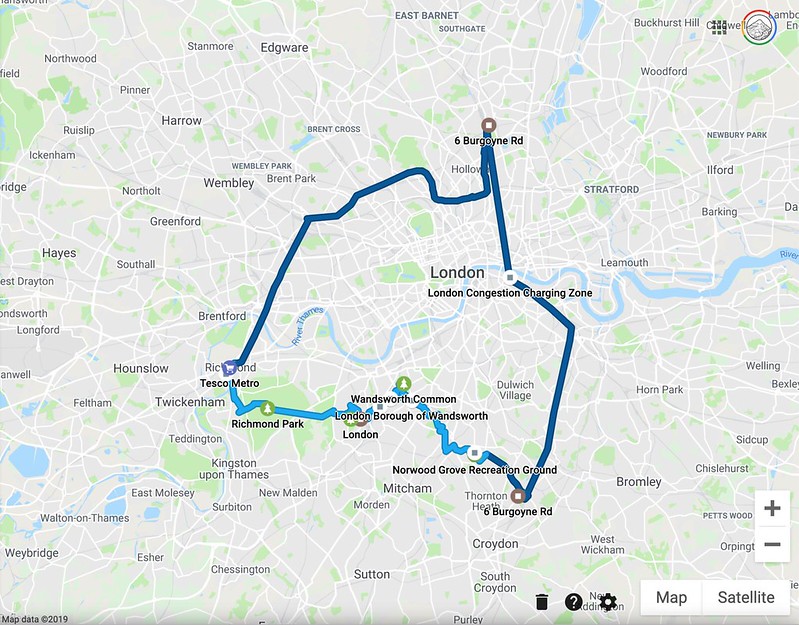
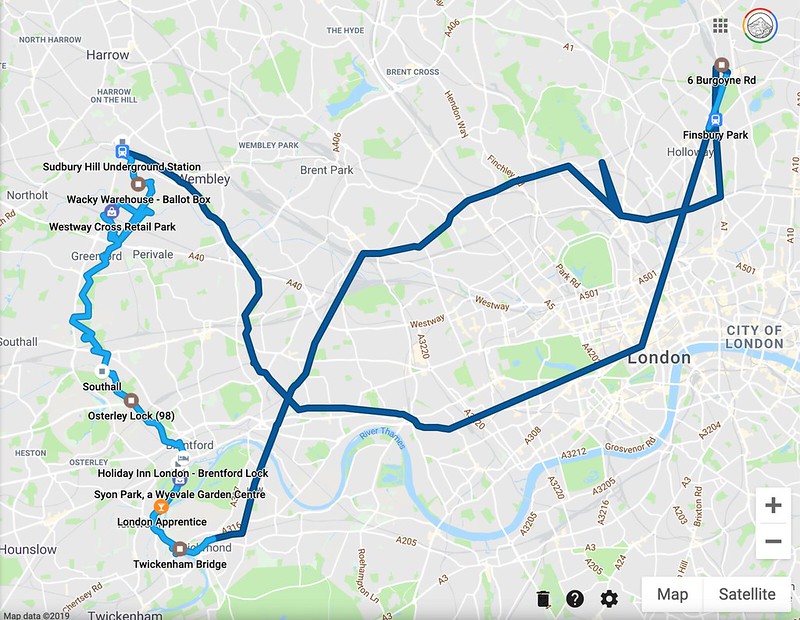
When Beano was very very small, I found myself trying to claw back a sense of mobility through a series of ever increasingly longer walks with Beano strapped to me. In some ways, this strategy reminds of me of the Capital Ring walk I did in 2017. Living in Greater London makes one feel crushed by one's own insignificance in a big city that is too vast to know by foot, so I thought I'd try to complete a ring around the city.

Once upon a time I was going to do a detailed expository blog post for each leg but AINT NOBODY GOT TIME FOR THAT so here are quite simply the photo albums for each leg of the walk...

Debbie's 2017 Capital Ring Walk!

The source material for "Flatlands"

"I decided to walk the supposedly 78 mile Capital Ring over 6 consecutive days. I say "supposedly", for Debbie does not go "as the crow flies" but rather haphazardly in a squiggly line all over the map, and according to other mapping devices it seems I may have walked more than 150 miles in total. Rather than starting with the traditional route as listed in TFL's maps and David Sharp's guide book to the Capital Ring, I decided to start and end my journey at Stoke Newington's Rochester Castle."

14 March 2017: CAPITAL RING Stoke Newington to Woolwich

Day 1: Stoke Newington to Hackney Wick
Day 1: Hackney Wick to Beckton District Park
Day 1: Beckton District Park to Woolwich Foot Tunnel

15 March: CAPITAL RING

Day 2: Woolwich Foot Tunnel to Falconwood
Day 2: Falconwood to Grove Park

16 March 2017: CAPITAL RING

Day 3: Grove Park to Crystal Palace
Day 3: Crystal Palace to Streatham Common

17 March 2017: CAPITAL RING

Day 4: Streatham Common to Wimbledon Park
Day 4: Wimbledon Park to Richmond

18 March 2017: Capital Ring

Day 5: Richmond to Osterley Lock
Day 5: Osterley Lock to Greenford
Day 5: Greenford to South Kenton

19 March 2017: CAPITAL RING

Day 6: South Kenton to Hendon Park
Day 6: Hendon Park to Highgate
Day 6: Highgate to Stoke Newington

Thursday, 27 September 2018

Anodised Aesthetic and Cutting aluminium profiles at home with a small hacksaw

Untitled

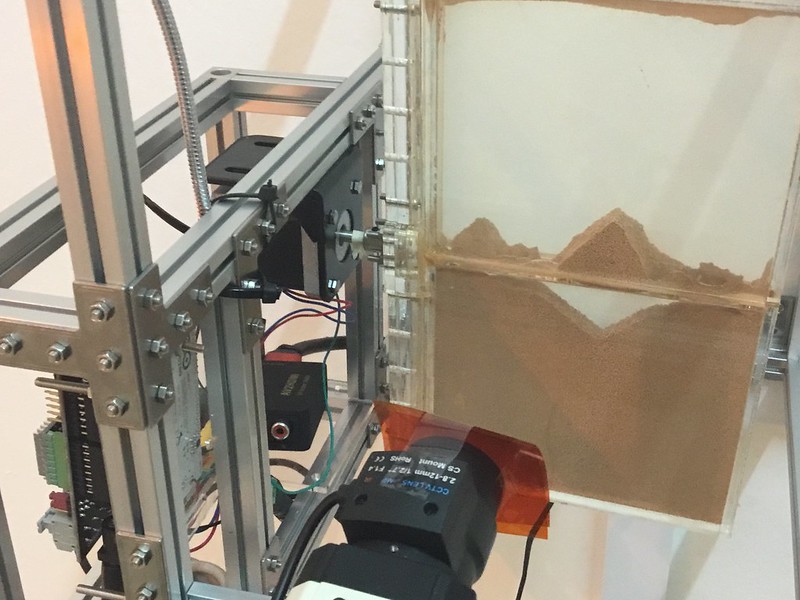
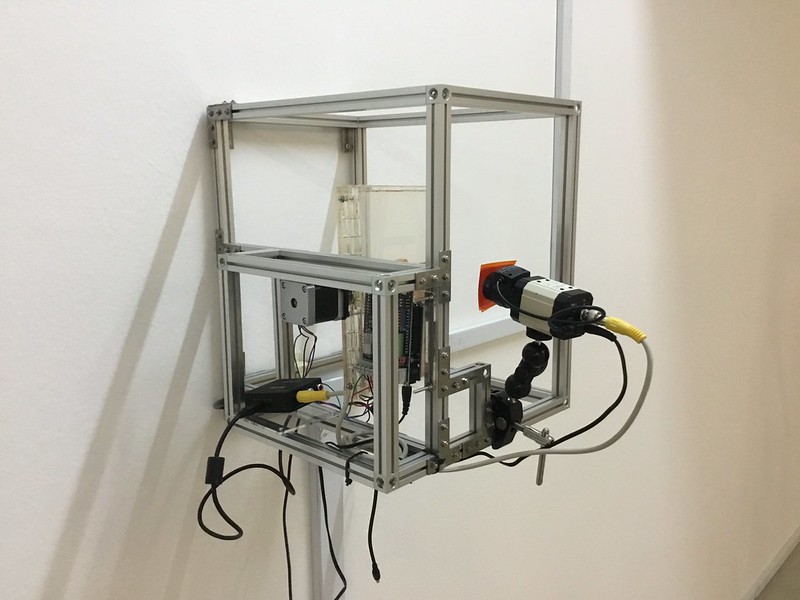
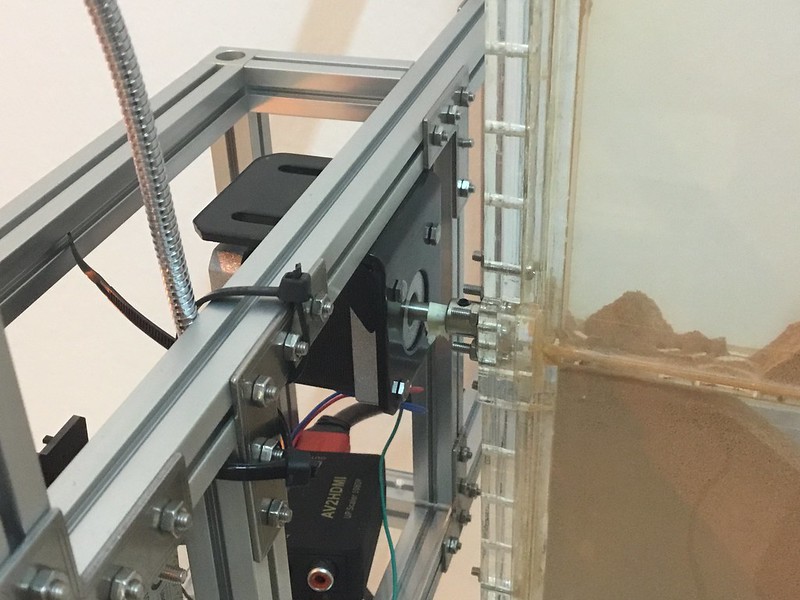
Can you cut small aluminium profiles / Maker Beams at home using simple tools? The answer is YES YOU CAN! I actually have never cut metal for a project previously and it sounds a bit intimidating but I decided it was high time to build with aluminium - and to use it to build the frame for my own sand turning cctv contraption.


Apple's Anodized Product Design Aesthetic

Why aluminium? It has excellent strength and resistance for its weight and is corrosion resistant even in moist conditions. Its super light yet solid and would be totally solid even if I had motors turning a 600g box inside it. Possibly you could say I was influenced by the finishing of all the products that I'm touching on a daily basis... I spend hours each day touching the anodised aluminium of the macbook or tablets with similar finishes. So many products use anodised aluminium as a functional and aesthetic finish. So why not use extruded aluminium profiles to construct the exterior rig - surely that would be solidly functional and aesthetic.

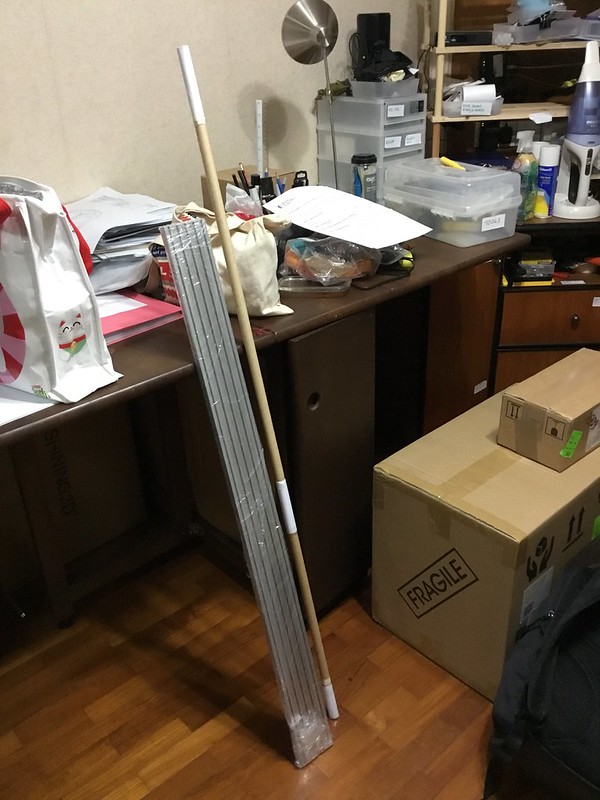
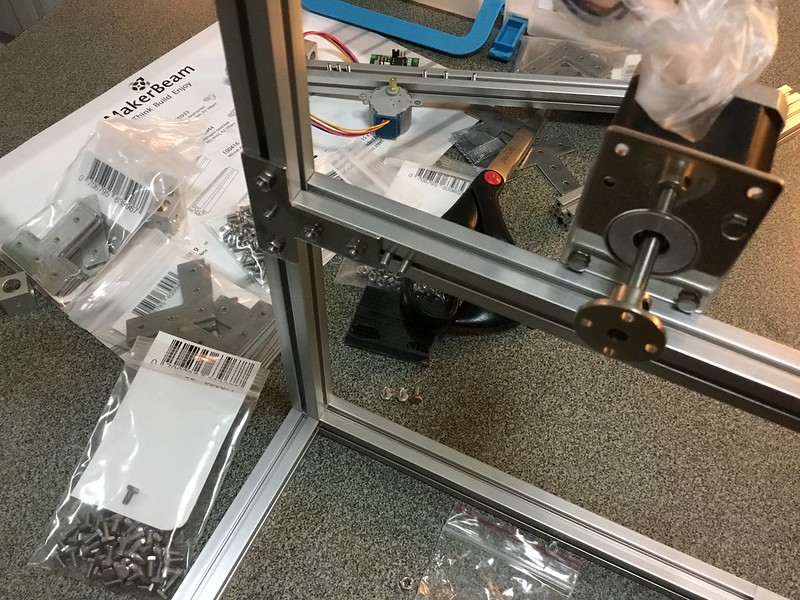
I bought the Makerbeam XL kit (S$219) and a bunch of 100cm Makerbeam XL rods (S$15.50 each from SGbotic) and I needed to cut a few more down to my custom sizes. Previously I had built some things with much cheaper aluminum profiles but not all of them had this perfect finish, the corner cubes, and this slimness (15mm) suited the work well. The pre-cut pieces made it super fast to build a first prototype, and the longer pieces provided flexibility to cut and add on custom lengths of support.

Untitled

All you need is a small hand saw, clamps, some lubricant and your kitchen table. And yes, even for those of you of ridiculously weak muscular strength, I promise that your cut rods will be of an acceptable standard. (I have zero arm muscle btw. I can't even do a single pull up.)


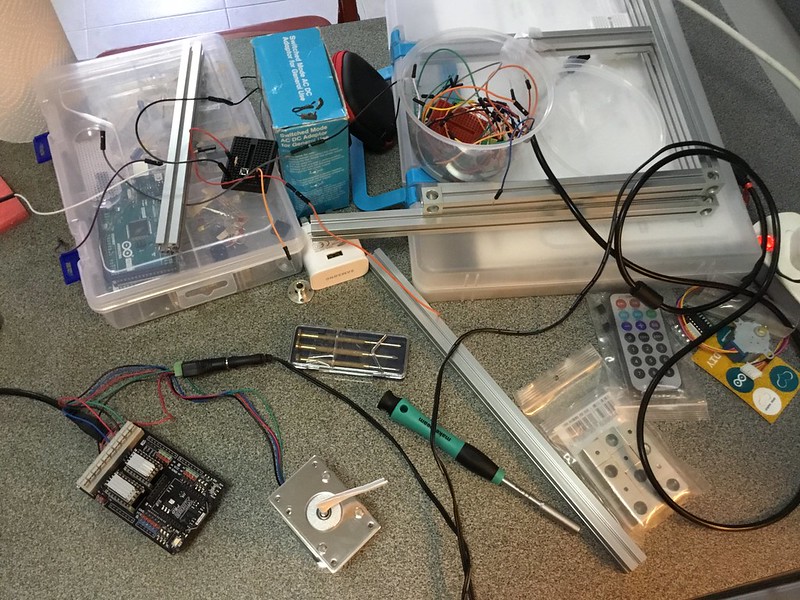
All that you'll need for this endeavour is:
A small hacksaw with a blade
A clamp
Spare bit of wood (for clamping)
File
Can of Lubricant

And some tissues to clean up the puddle of grease and aluminium powder you're about to splatter on your kitchen floor, you dirty animal!

Hacksaws are basically those C-shaped frames which hold a blade using tension. You can get a cheapie (but solid) Lenox one for like $12.60, and the blades for about $2. There are plastic ones that go for even less! The blades come with a number, something like 18TPI or 24TPI (also written on blades as 18T or 24T). This stands for Teeth per inch. I happened to use the 24TPI one that was already in this random hacksaw I found. The logic behind this is that the lower TPI should be used for thicker and heavier metal. There's apparently a whole science behind the thickness of material vs the TPI that you can read up on here. But obviously in all these cases its not just any random metal, but any kind of machinable metal (such as aluminium)


With a little sawing, the metal will bend to your will and you will have your profile lengths customised for your project! All you need now is to tap screw threads into the ends and you've got a perfectly usable part. If you are using the Makerbeam cubes they will very easily hide any rough cuts, or simply sand off the edges if they are going to be exposed.

Untitled

Untitled

Untitled

Untitled


You can see this work in motion at the President's Young Talents 2018 show!

8Q @ Singapore Art Museum
8 Queen St, Singapore 188535
Gallery 3.12 (Level 3)
4 Oct 2018 - 27 Jan 2019

Wednesday, 26 September 2018

Using Paint and Plastics to Make Realistic Fake Cow Grass

Untitled

A few years ago I wrote a series of short stories, one of which was about a social contract in which people were allowed to remain in an area if they totally blended in by wearing a camouflage suit. It was based on this story that I decided to make these red-soil-with-cow-grass ghillie suits:

A HOME WITHOUT A SHELTER

In this city, all private land parcels exceeding the specified size must allocate at least 10% of green spaces on their land as a "permitted camouflage zone". People who wish to use parts of these private gardens for their own leisure are legally permitted to do so, so long as they are in camouflage. Special camouflage suits are manufactured and sold to suit every type of urban space. Members of the public blend seamlessly into the private gardens, private landowners are unable to see the public in their parks — the suits rendering them invisible on first glance.

Some entrepreneurial individuals have been trawling through the streets collecting soil and plant material, sewing the organic material into suits for would-be park goers. In particular, homeless people have been taking the most advantage of this scheme, devising the most ingenious ways of producing a camouflage suit at almost no cost, and becoming virtually invisible within some of these parks. Many people in this city have mastered the fine art of blending in and remaining unseen whilst still in plain view.

It turns out that a clod of recently deposited soil isn't really a realistic clod of soil unless there is a bit of grass poking out of it. The mound of soil must have grass because soil is the surface through which things intersect (light, buildings erupt from its surface, shards of greenery, etc), and without the eruption of grass from the surface it is hard to appreciate the continuity of the surface.

Untitled
Like this...

So it turned out that my attempts to make a landscape work soon became a totally ridiculous painstaking endeavour to produce the most realistic cow grass by hand in artisanal small batches......


When I began conceptualising this new work, I originally intended to digitally print everything, but then as things turned out, I wasn't quite satisfied with the quality of the digital colour once it was printed on fabric. Often digital print on textile has the odd, dullened sheen of ink deposited on the surface, dependent very much on the base that it is printed on. Mainly the fabric texture getting in the way. But colour is so important in this. As someone who has done a fair bit of digital painting, I consider myself quite knowledgeable about how digital colour or colour on screen works, but paint has always been a whole other territory. I don't know so much about all the different mediums, or why there are so many different types of whites available in the shops, or why I should buy one brand of paint over another. So it wasn't my first choice to work directly with colour or paint... its not a medium which I'm 100% comfortable with...


Fortunately, what I found is that one's understanding of digital colour addition can be easily translated into real-life paint colour addition. And as it turns out - boy oh boy do I enjoy painting! I didn't even think I would enjoy it so much! I don't want to just paint abstract or random things, but I want to gain total mastery over the medium. To me, if I haven't become good or precise enough to paint something ultra photorealistic at the snap of a finger, then I don't think I could allow myself to generate any ol' random paintings just yet. After this project is done, I think i'd like to try to master photorealistic painting. You know, obsessively painting images of thin-film interference or iridescence or something totally ridiculous like that. (But since I'm working towards a deadline, I'll leave my idle dreams of painting images of tempered metal for another time...)


To the left, the paint, and to the right, the colour sample (some actual soil collected from outside)

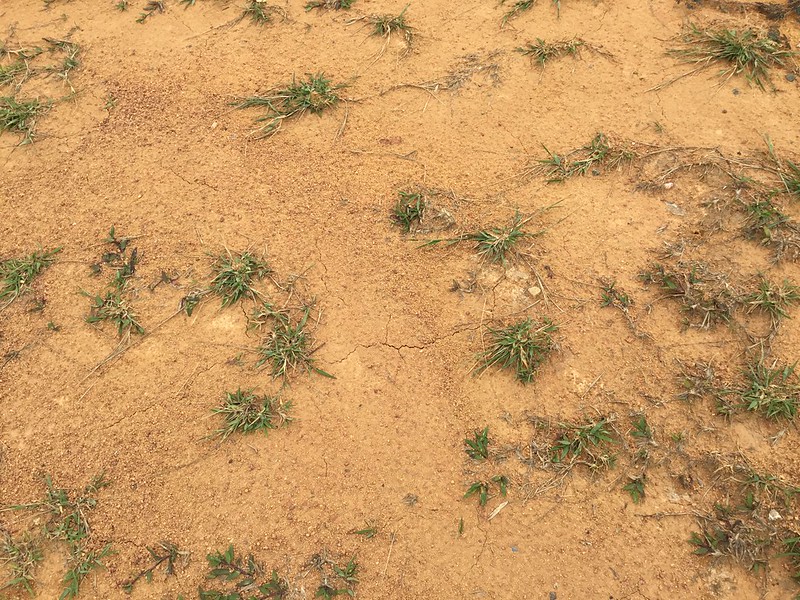
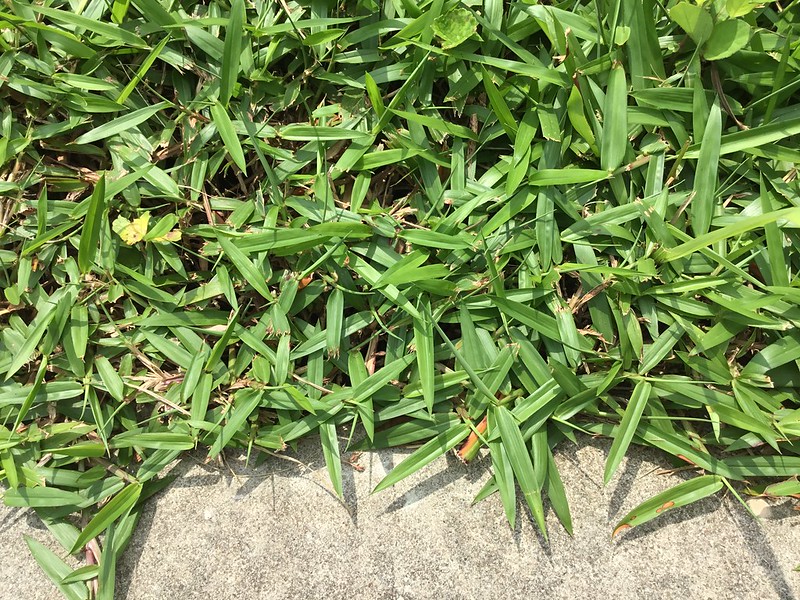
It was easy to obtain an accurate colour sample for the red soil I wanted because I just kept a bowl of soil in the house for reference. However, I realised that the red of the soil was not necessarily recognisable as a familiar sight to Singaporeans - unless accompanied by a sparse smattering of grass, in particular, the grass known as "Axonopus compressus" or "cow grass". But since grass is living material and not mineral, keeping a colour sample was harder.

Untitled

Here was the grass in situ... (on a grassy mound in Buangkok)


First attempts at making a colour reference failed because I am a monster and I actually tried to laminate the fresh green grass to preserve. Not a great idea because grass obviously changes colour when COOKED, like any other plant or vegetable.


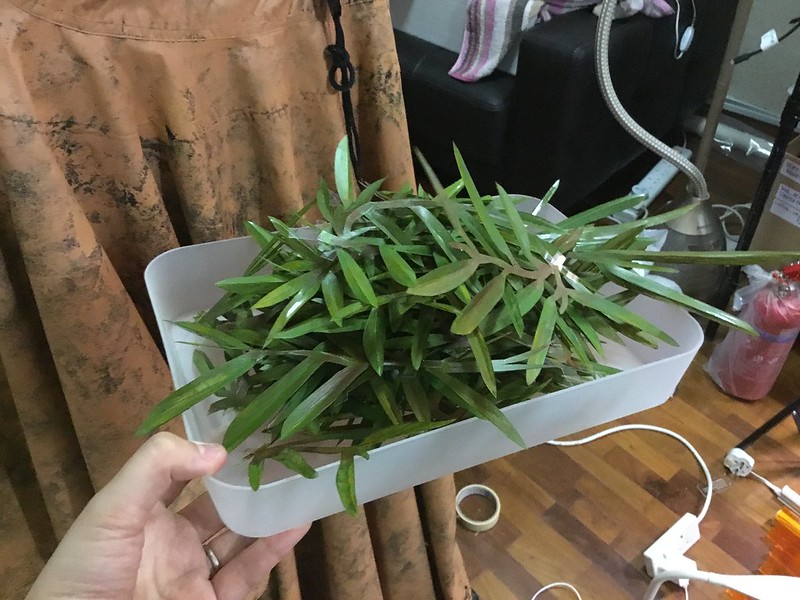
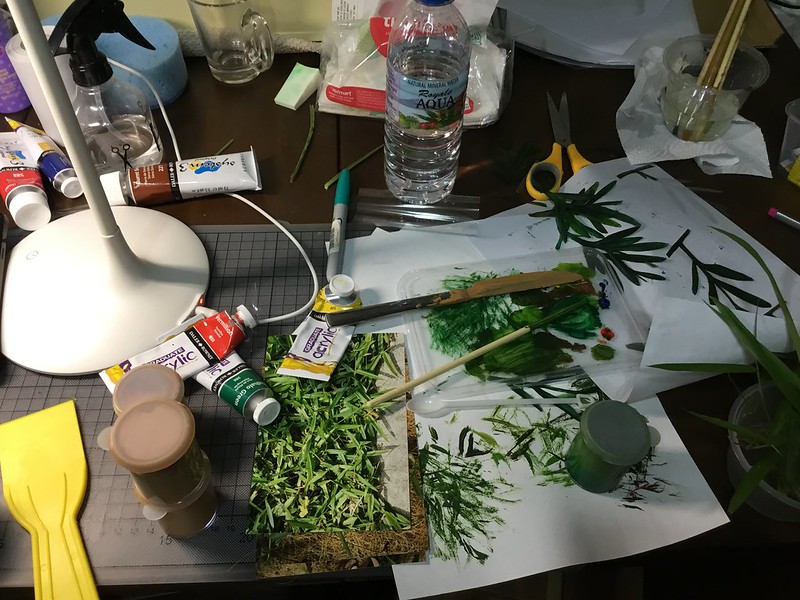
I iteratively improved the colour until it was as close as possible to the real thing. I don't really like painting on paper. But I really LOVE painting on a transparent plastic medium. The ease of painting on smooth plastic, the way you can overlay it onto other things. I've tried cellulose acetate (aka OHP transparency) but that is a medium known to be vulnerable to yellowing and warping over time, breaking down into acetic acid or the plasticisers migrating outwards to the surface leaving a weird white powdery deposit. Now I'm trying Dura-Lar film which is supposed to be a mix between Acetate and Mylar - supposedly archival grade material which is partly made out of the resin Polyethylene Terephthalate (PET).


Finally, here is the colour reference I made for the plastic grass that I seem to be making in a very tedious fashion BECAUSE I HAVE TO DO THINGS THE HARD WAY.

Untitled

Untitled

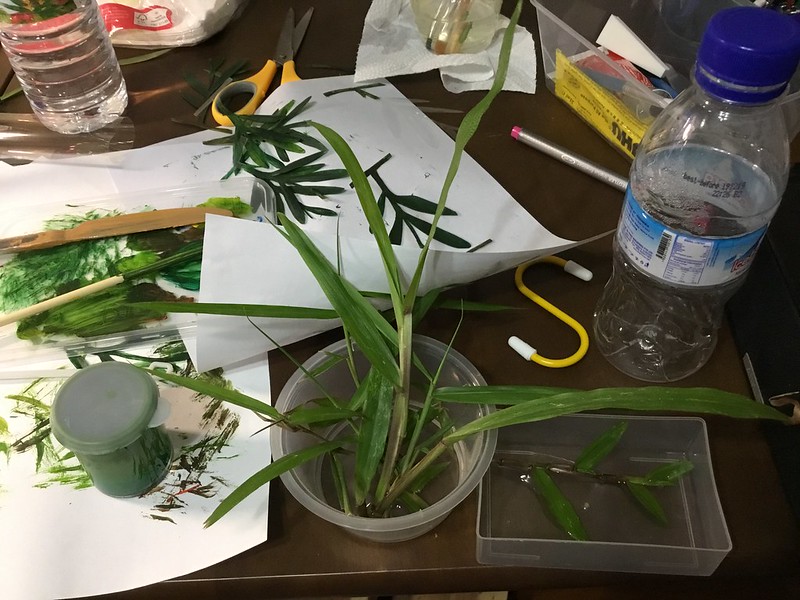
I ended up putting some of the grass (that I hadn't inadvertently cooked through lamination) into a dish of water and now it appears I am also growing grass at home. Maybe I will put it in the snail tank, so the snails can feed on it, and then the cycle will be complete?...

Untitled

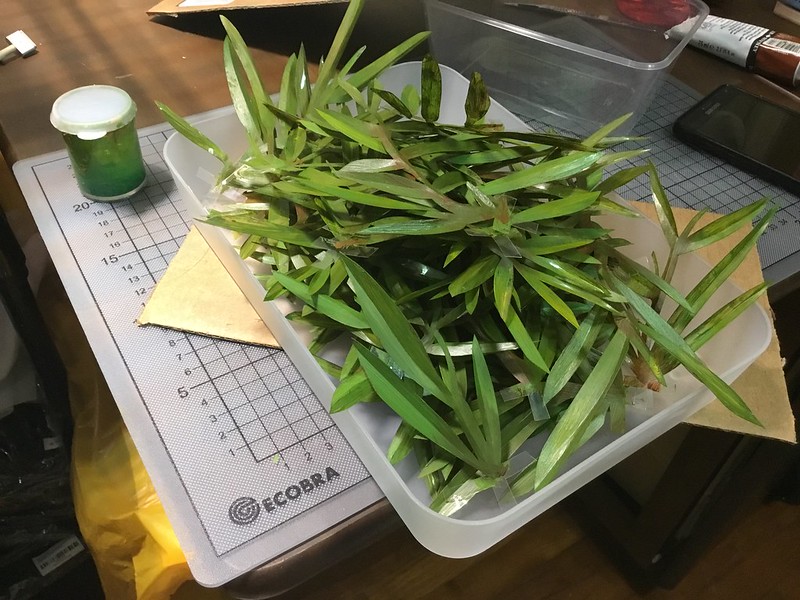
My basket of realistic fake cow grass


You can come to see the grass on the work I produced for the President's Young Talents 2018 show!

8Q @ Singapore Art Museum
8 Queen St, Singapore 188535
Gallery 3.12 (Level 3)
4 Oct 2018 - 27 Jan 2019