Sunday, 22 July 2018

"Tanah Goreng": Residual granite soil sample


This weekend I wanted to conduct an extremely controlled and orderly soil sieving and drying process to obtain the raw material for the work that I'm currently building. (I mention orderly and controlled, but as you will see, it was anything but orderly in the end...)

You see, earlier this year I decided that I would build a work about soil. Long has soil been a material used in art as pigment, or in the production of clay and sculpture. It is depicted in landscapes as the all important horizon line, it is so ubiquitous that it is almost invisible, and for some reason we hardly have any reason to handle soil directly today. Everything is about sand sand sand. No one talks about the soil. So I wanted to study more about soil.

So I read up on the process for the wet preparation of soil samples. Got all the gear ready, collected and measured a cup of residual granite soil (ie: that ubiquitous red soil which you see everywhere in Singapore), added clean water to it, and sieved the material through a food sieve into a stainless steel bowl (which was somewhat disturbingly similar to the same type of stainless steel bowl I used to eat my food). After that, I heated it on an infrared cooker which I placed at the end of the "yard".


I used a food sieve although I had spent quite some time researching on test sieves - I really wanted to use a set of sieves of different sizes to enable me to determine the particle size within the residual granite soil I had collected and I had even gone as far as investigating whether I could build my own sieve shaker rig with a stepper motor. But then I fell off my chair when I looked at the prices of scientific grade test sieve sets. Perhaps I was looking to the most expensive brands (eg: Endecotts) but I hadn't realised how pricey the equipment would be. I know they are important for determining the size of particles, and that the type of weave and small details about how it is made and tested are also reasons for it retailing at a very 'specialist' price - but can accuracy of sieve size truly justify the over-tenfold increase of the price of a single scientific grade test sieve as compared to a domestic flour sieve/food masher? I mean, is the test sieve made of gold??

Anyway, as an approximation - here I have used a discount flour sieve I bought from the humble AMK Fairprice. In any case, my main purpose here was to sieve out large rocks and other organic material from the collected soil, in order to obtain a fine dry sifted soil material.

Aaaand after I mentioned that I was reverting to using kitchen equipment in lieu of lab equipment... Zaki joked that it sounded like I was making "Tanah Goreng". WELL THEN FOLKS, HERE IS RESIPI TANAH GORENG:

TANAH GORENG

287g Tanah (soil)
500ml Air (water)

Add water and agitate with a spoon to loosen smaller sediment from larger sediment.
Strain different sized sediments into different pans.
Cook separate pans over low heat until completely dried.


Soil mixed with water forms a liquid which has a high viscosity meaning that when the water underneath reaches boiling point, the steam pressure begins to build up. First the steam pressure begins like a murmur on the surface, like a fluttering heartbeat; the soil slowly showing signs of life on the surface.

For quite some time the muddy soil soup simply sort of quivered in the pan, as if it were a blob of congealing Teh C in giant custard pudding form. Thoughts such as "AW, HOW PRECIOUS" and "Should I be photographing its first moments of life?" came to mind. But because it was taking so long to come to a boil I lost interest in watching it. I was not about to spend all evening watching a pot come to a boil. So I went away.

Next thing I knew, it had progressed to a whole new other level of horror...


What the...


What is this, splatter gore horror?...


LESSON #1: SOIL PLUS WATER EQUALS MUD. WHEN HEATED IN A SMALL PAN, MUD SPLATTERS

Certainly a key lesson to be learnt from this is either to use a deeper or bigger pan - or boil a smaller quantity of mud if you do not wish to return to a red splattered scene like this (and a lot of cleaning work to be done).


The wild mud cook out continued the next morning, this time in more manageable smaller batches.


The soil was heated until it was dry and could be collected in large flakes.


A miniature martian landscape naturally emerged on the surface of each dry pan of soil.


For a moment I imagined that maybe Mars had also secretly boiled over when we weren't looking at it, in order to get all these craters.


About 175g of material was recovered from an original 287g of collected raw material.

MORE EXPERIMENTS WITH SOIL COMING SOON

Sunday, 24 June 2018

Dream Syntax VR


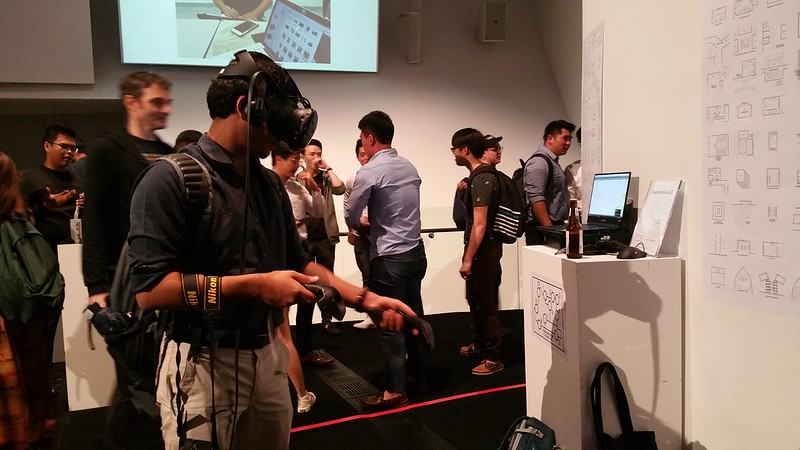
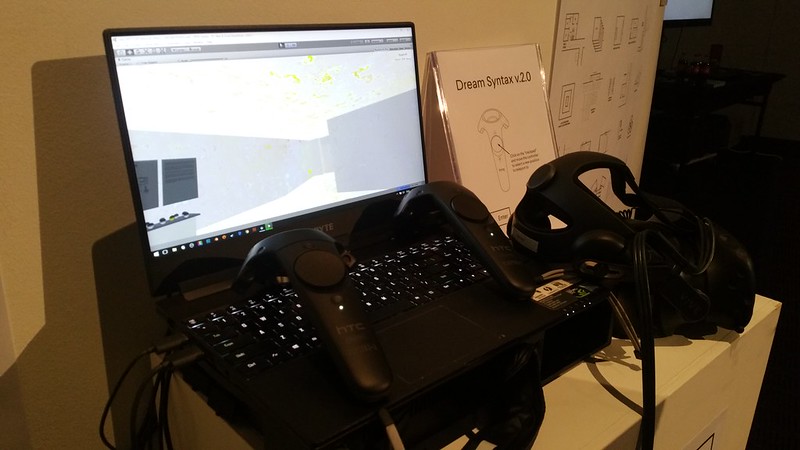
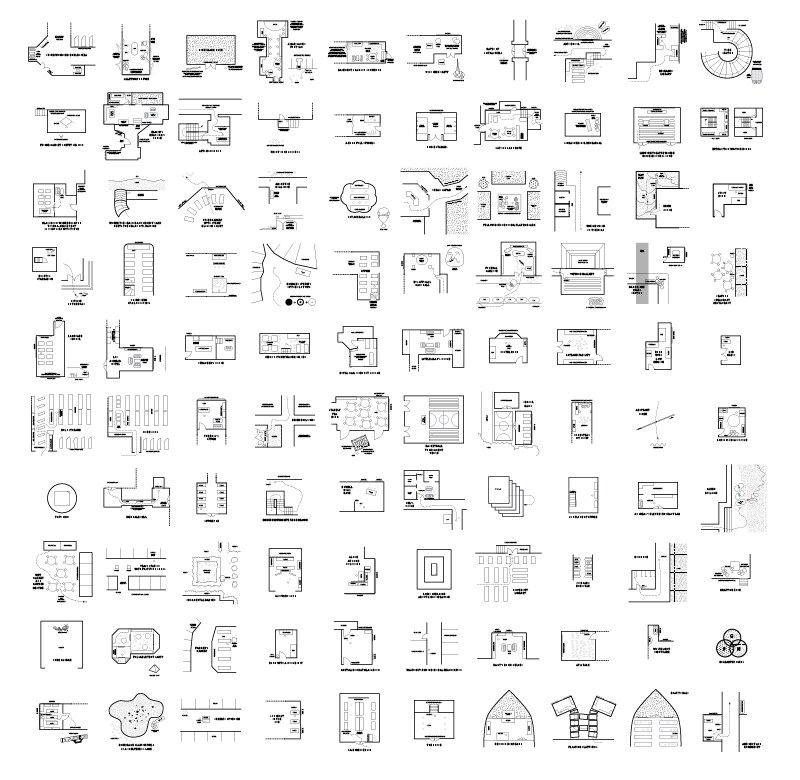
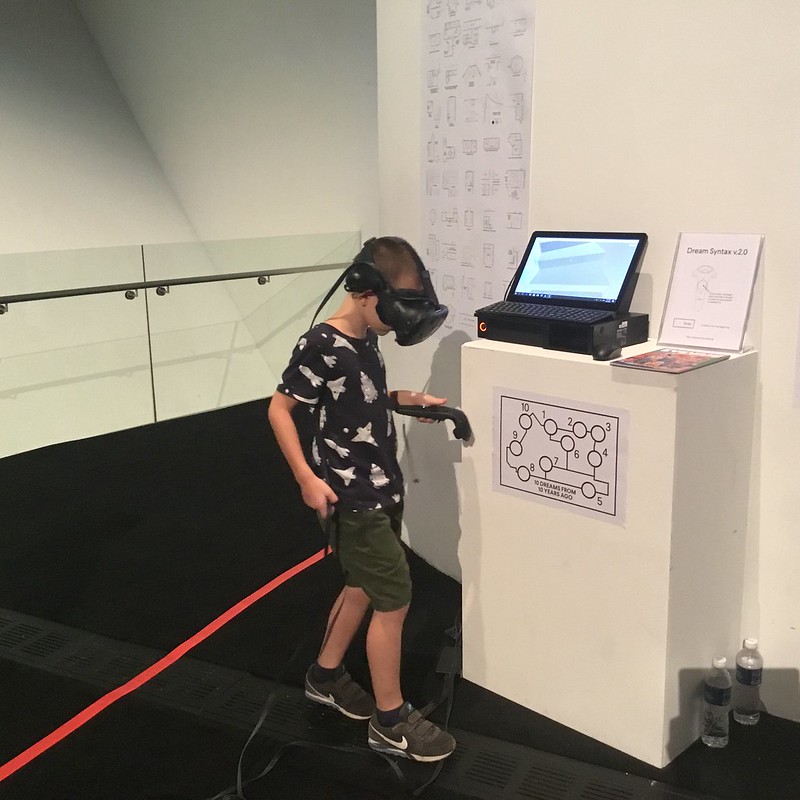
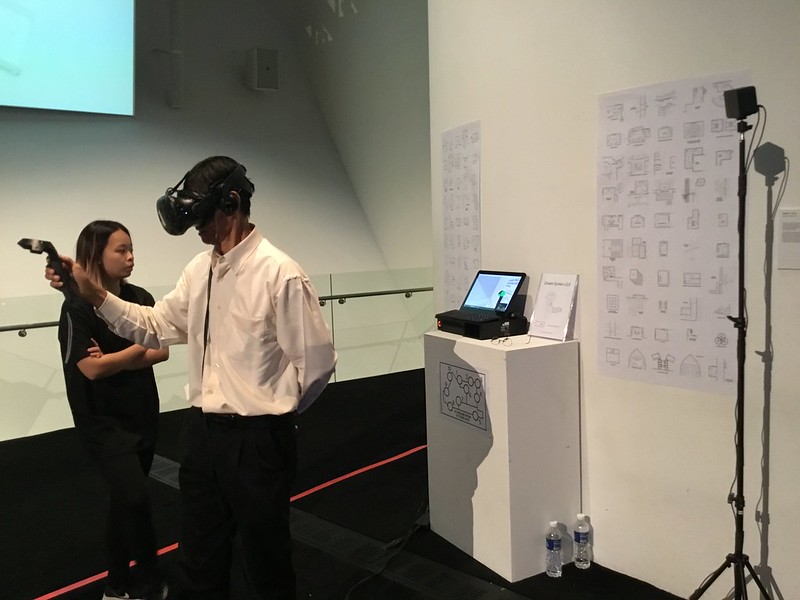
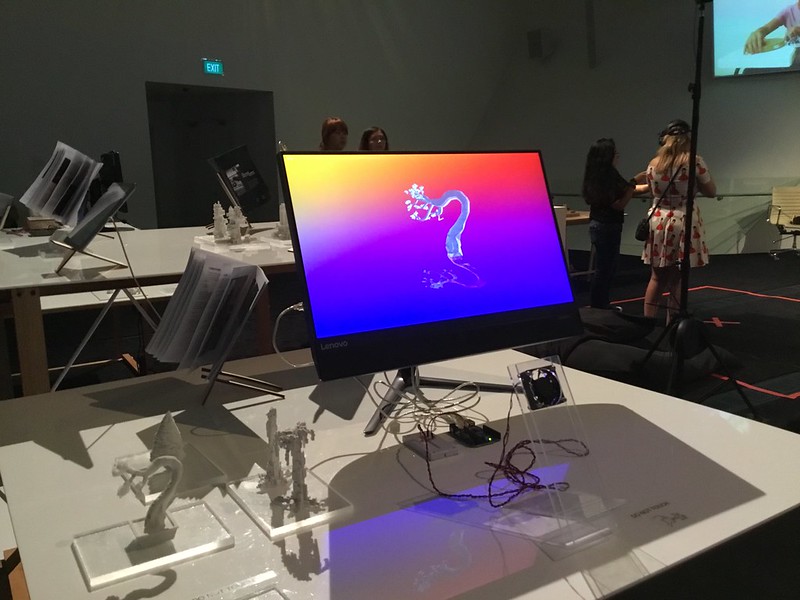
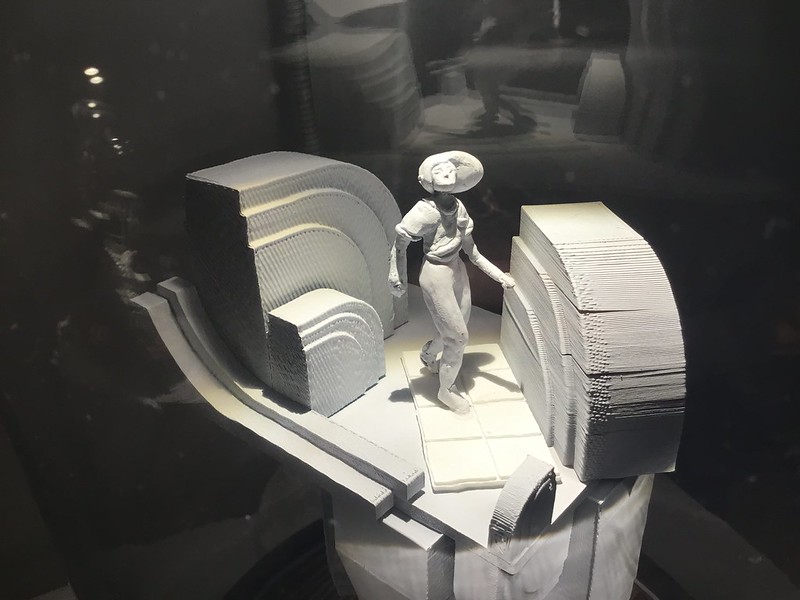
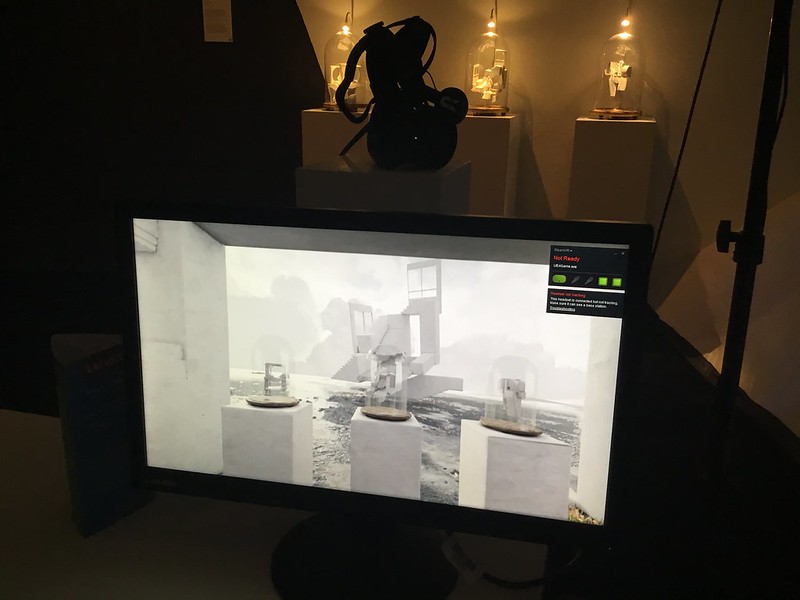
Back in January I spent about 2 weeks working on a VR interpretation of the material from my old project Dream Syntax. Dream Syntax was a project in which I tried to map out all the dreams I had in map form. Those of you who know me when I first started doing it will also know that I had also wanted to map it all out in 3D but this was simply too time consuming. So I made a selection of 10 of my dreams from 10 years ago to visualise in 3D, and then stitched them up together so that one could walk through them one by one - in VR.

Untitled

Untitled

100 dreams
On the wall: "100 Dreams"

I originally meant to spend much longer building the project, but I was still adapting to teaching full-time alongside my artistic practice at that point, so in reality when I look back on the madness that was this project, I realise that I only really spent 2 weekends developing this project. I slapped it together in Unity with VRTK because it was just the fastest to work with - although it does seem that VRTK has since reached its end of life.

Here is a list of some things I discovered whilst developing the project:


STAIRS AND SLOPES IN VR

Untitled

Stairs. People really do have great difficulty with stairs in VR. Your position is partly determined by the location of your head, therefore if you stand on the edge of a step and lean your head out over it, you will involuntarily ascend or descent to that new step without even having to move the rest of your body. A BUCKET OF SIMSICKNESS FOR ALL! At this point, I don't know how to get around this besides making it a third person experience rather than first person experience.

CROWDS AND VR


Untitled

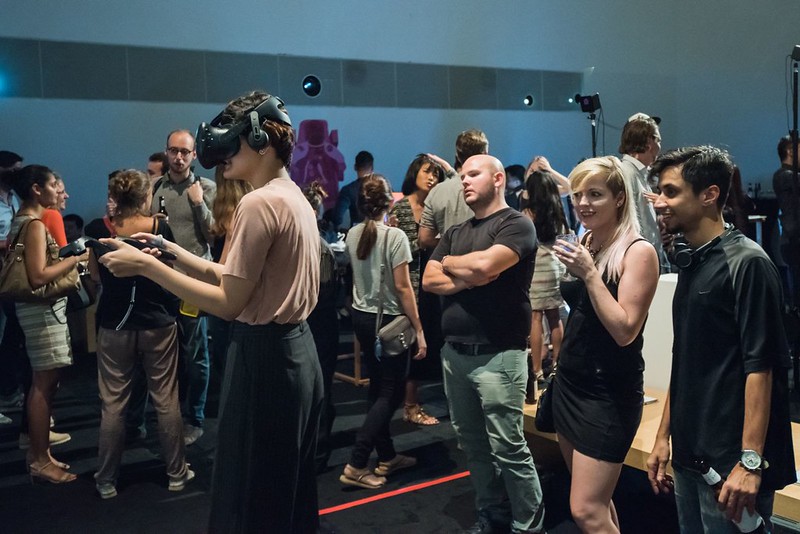
Too many people may block the lighthouses or if the room uses false/raised hollow flooring, footfall may shake the lighthouses and stop the vive from working entirely. The user experience is also really strange - you come into a room full of people wearing headsets - tell me what kind of weird dystopia of technological escapism is this?

LIGHTHOUSE POSITIONS AND WIRED CONNECTIONS


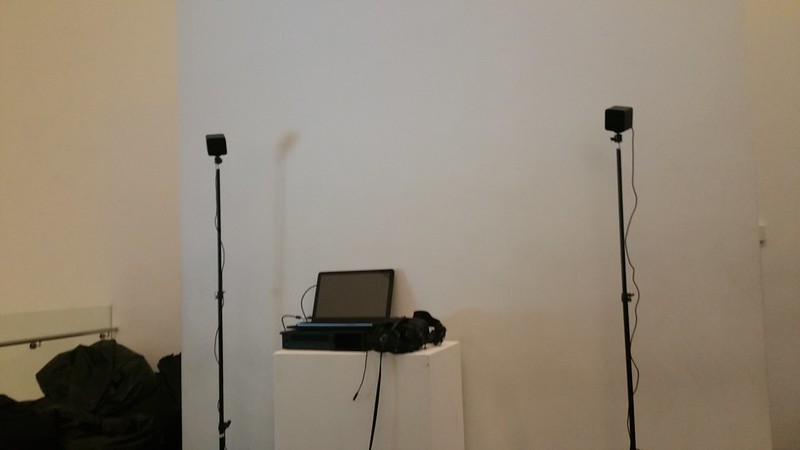
The idea of a VR exhibition with several VR works sounds nice, but logistically it presents many new challenges. If you put several lighthouse setups in close proximity there will be intermittent tracking interference (ie: controller or headset position jumps around) and grey-outs (ie: headset loses sight of the lighthouse and compositor goes grey). I learnt this the hard way on opening day, where it became clear that my installation was repeatedly getting tracking interference from the lighthouses of the tiltbrush demo right next to me. One solution would be to NOT PUT THESE INSTALLATIONS SO CLOSE TO EACH OTHER in the first place. But if that is not possible, these following sketches should be self explanatory about how to solve the interference issue.


Untitled
Wired connection and position of lighthouses

Technically speaking the lighthouses are "dumb" and just need to be correctly PAIRED with the headset when you set things up. That means you could actually have TWO headsets using the same lighthouses. The only issue with having two headsets with two different games in the same play area is all the hitting and accidents that would happen from two people with headsets and controllers wildly flailing in each other's direction.

VR MAY CAUSE FACIAL PAIN FOR SPECTACLE WEARERS


Both the Oculus and Vive don't seem designed with the spectacle wearer in mind. My glasses are big and wide (all the better to see you with!) but with such a large frame which also had to be crammed inside the space of the headset, the load of the headset began to hurt my nose after a short while. The solution I found was to take off my glasses, position them deep INSIDE the headset, and then don both glasses and headset at the same time. Otherwise, you will find yourself squeezing your glasses hard into your face when putting on the headset, causing this kind of injury to your face.

PEOPLE HAVE SO LITTLE EXPERIENCE WITH THE TECHNOLOGY THAT EVEN THE ERRORS ARE LIKE MAGIC


Untitled

As a medium for telling stories or producing work, VR headsets are just so expensive that most users haven't had much experience with them. The result is that people coming to see your interactive may get more excited about other accidental features you introduce rather than the work you originally meant to make using the platform. For example, I had a error/glitch in my app where at one particular position on the map you ran the small risk of leaning your head over the parapet and falling off the spiral staircase (damn you, stairs!!!) into the infinite galaxy skybox. Now, some users discovered this error, and when this happened a volunteer on site would help you restart your experience.

But no, as it turned out, some people really got big on "falling into the galaxy" and after discovering they could do this, they just kept on doing it over and over again - although that was not the point of this work...


Other works from the show


Untitled

Untitled

Untitled

Untitled

Untitled

Untitled

Untitled

Untitled

Untitled

Untitled

Untitled

Untitled


With thanks to Meshminds for organising the show and making it all possible.

Tuesday, 1 May 2018

World, meet "Bizkit"

Untitled

Untitled

Untitled

WORLD, MEET "BIZKIT"!

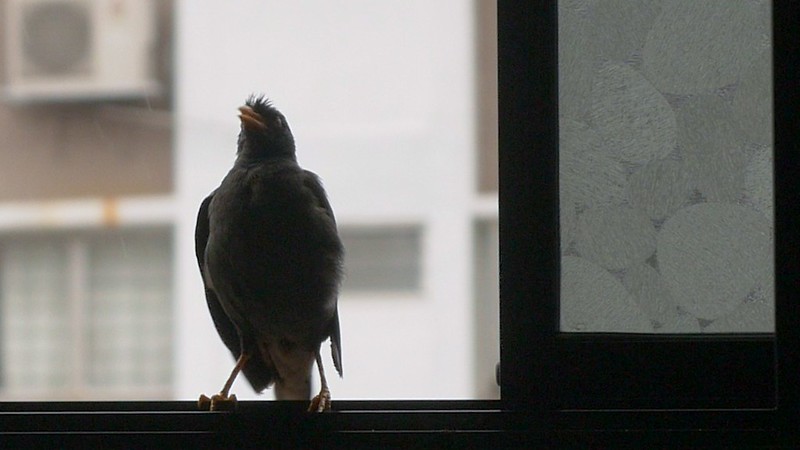
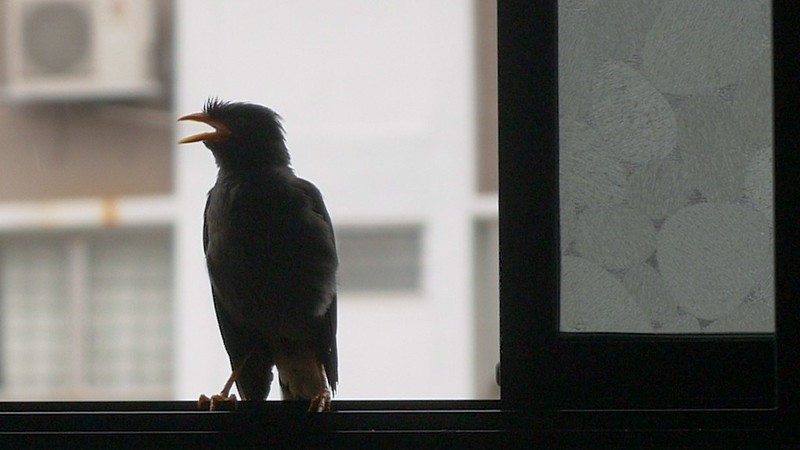
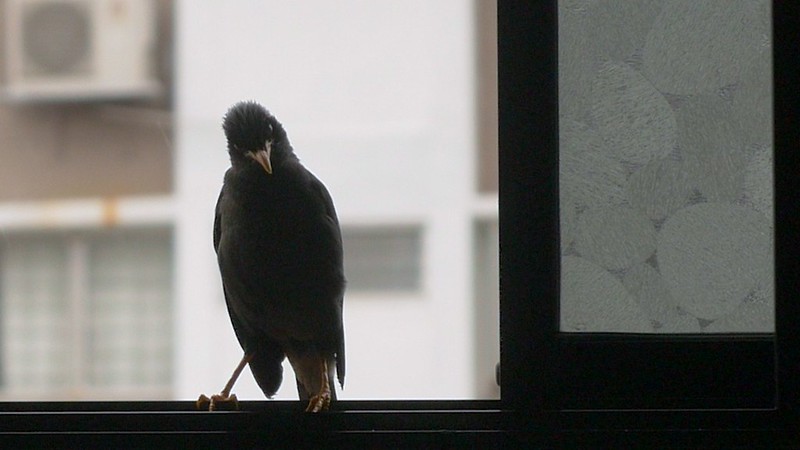
Bizkit is a javan mynah living in Ang Mo Kio who has been flying into our flat every other day to eat biscuit crumbs, noodles, and other scraps from our kitchen floor and kitchen sink. Although all the javan mynahs look exactly the same, we think that there is one unique Bizkit who is especially bold and unafraid of us. Some of the "Bizkits" come in pairs, but they also give us a very "guilty" look and scoot off the moment we walk into the kitchen. But there is one original "Bizkit" who does not seem afraid of humans at all and will even walk all the way to the threshold of our living room, even if we are in the kitchen itself. This post is about that Bizkit.

Bizkit likes biscuits, noodles, cooked human food scraps, and oil. The Bizkits also have an unhealthy interest in plastic bags, probably because they know that humans often put their food inside plastic bags. The food itself needs to be small enough for Bizkits to eat, and if its not small enough the Bizkit may pick up the food with its beak and then hit it onto the counter top or drop it onto the ktichen floor until it breaks into smaller components that it can swallow in one go. The Bizkits are surprisingly quite good at using tools which they pick up with their beaks. We noticed that Bizkit doesn't seem to be interested in the healthy options we have offered in our household - chopped carrots or chopped fruits are only begrudgingly eaten and in fact most of the Bizkits will sit in our house and make loud, almost shouty sounds at us if there are no unhealthy oily food scraps left around. Its like they're complaining at times.

After eating our crumbs, Bizkit will usually noisily wipe its beak on the window sill, fluff up into a ball, and chirrup a little. We're not sure what the beak cleaning means, but some papers suggest that when a mynah bird is unable to complete the task it wanted to complete, it cleans its beak as a passive aggressive act. Or maybe a simpler answer is that the Bizkit's beak is just dirty after it pokes around our kitchen to find bits and pieces.

Recently Bizkit developed a pink growth near its beak and I became worried it was the sign of an illness or tumour, but hopefully it is just a skin tag and something harmless that Bizkit will live through. These birds are wild, impulsive, and very bold, and it is apparently said their lifespan is about 4 years in the wild. They're the kind of birds which are so curious that they will be the first to investigate roadkill, but in the process may become roadkill themselves. And if these javan mynah birds fight, its often a fight to the death! Apparently if they were kept away from the inherent dangers of urban life, their expected lifespan would be closer to the range of 12-15 years.

I don't know how much longer we'll be living in this flat, but for as long as we're here, I hope to hear the familiar chirrup of Bizkits in our kitchen for many more moons!


Pictures of Bizkit are by George

Monday, 2 April 2018

Lessons in 3D Printing: Blobs, Warping, Gaps, Ugly Overhangs, and other disasters with gravity

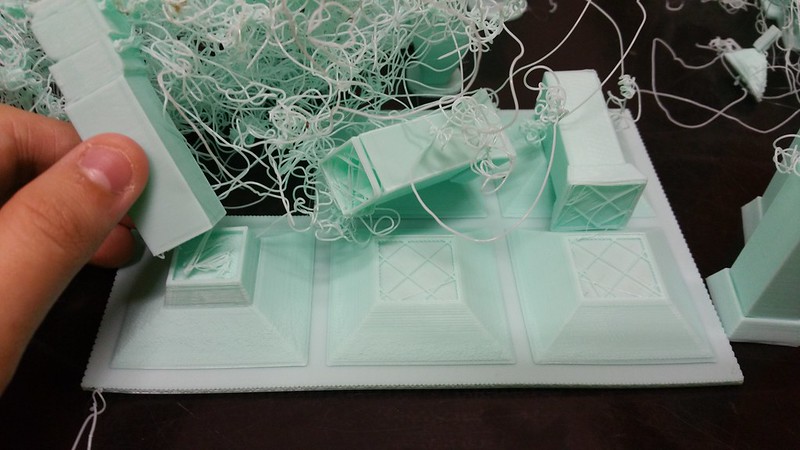
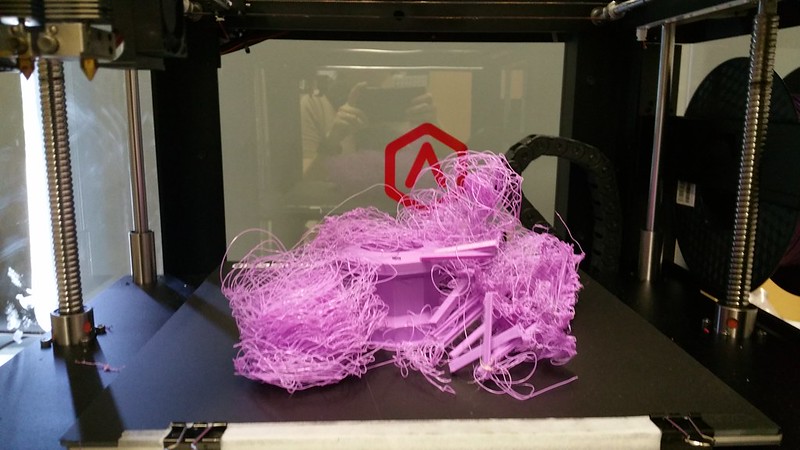
What do you do after you've let the printer go on printing for several hours but all you have left to show for your efforts is a big fat deformed blob of PLA? Well, after incorporating a 3D printing component to the 3D module I was teaching, I found myself dealing with many different cases of 3D printing disasters which I'll document here as a cautionary tale of the futility of logic and planning in the face of the freak accidents and an uncaring machine...

1. Blob around Extruder


Untitled

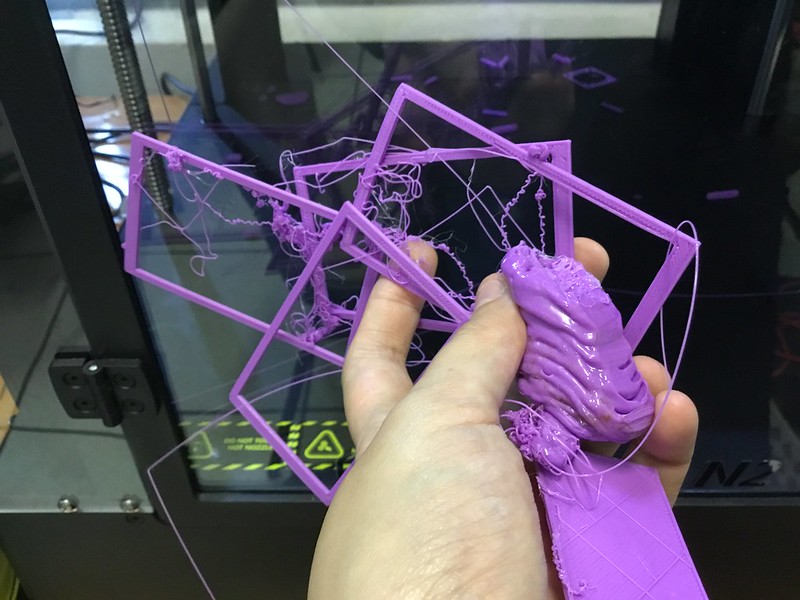
What is it? Item comes off the print bed midway, sticks to the nozzle, and envelopes the entire extruder as a blob of goo which once hardens may make it impossible to remove from your printer.

How to fix? Watch your prints from start to finish (often this is impossible and impractical to do) or try to set up an IP webcam to catch instances where this is happening.

2. Warping


Untitled

Untitled

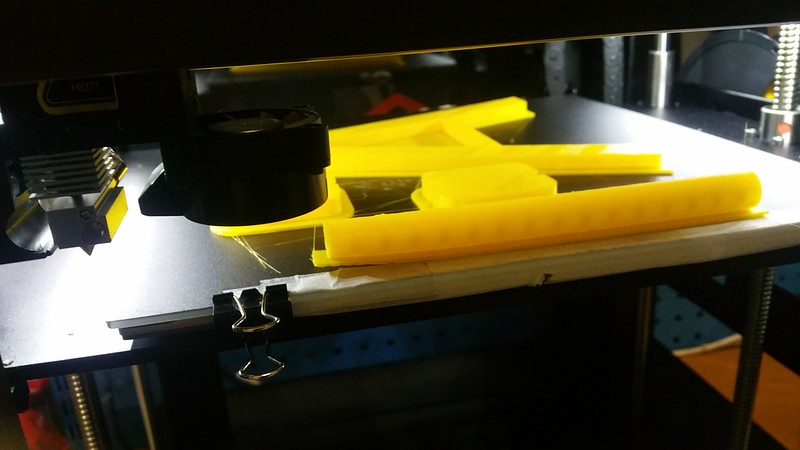
What is it? Warping is when you have a large part to print and the first layer which originally adhered so well begins to warp at one corner because of uneven cooling.

How to fix? The obvious fixes for this is to use a heated bed (check), use a heated enclosure (check) and print with a good brim or raft (check). Unfortunately even my rafts still continued to warp, so the main solution I used to fix this is to avoid the edges and to avoid overcrowding the print bed. I say solution but really it was just a temporary coping mechanism to try to get on with printing despite occasional warping.

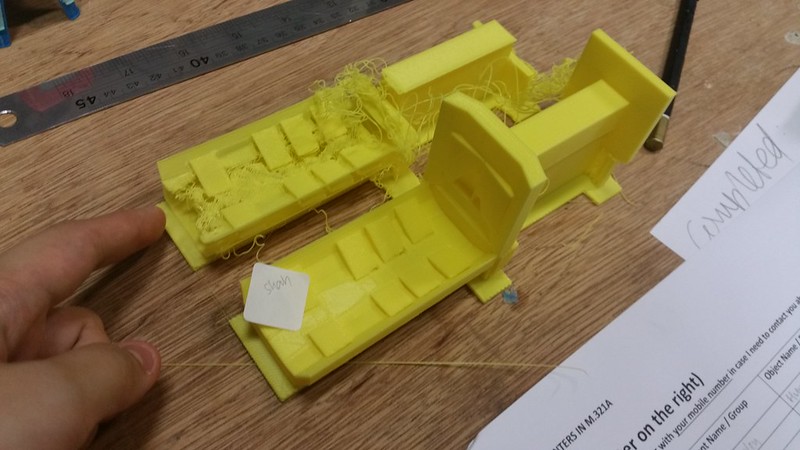
3. Gap between parts


Untitled

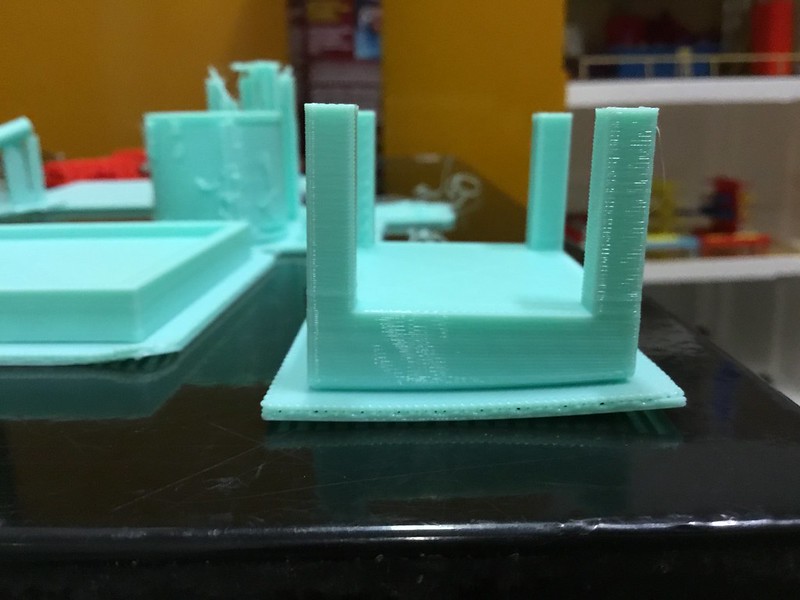
What is it? This is where someone has designed a part with an error and failed to check if the slicing is alright, resulting in this mess.

How to fix? Check and double check the design of all parts before printing! Look through every single layer if you have to to ensure that the thread continues and doesn't just stop for a few layers.

4. Insufficient supports


Untitled

What is it? Many a time I would see a file that did not seem to have sufficient support to keep the object from falling over. But since I wanted to make a teaching point of this, I let the item go to print so we could all experience the failure together. Now that I have observed several hundreds hours of prints, I find that I am pretty accurate at eyeballing a print and determining where a print lacks the supports for it to complete without falling over.

How to fix? ADD MAXIMUM SUPPORT. Don't just do what you think is the minimum, because that is almost certain to end in tears. Add the maximum amount of support needed if possible and accept the fact that the only way to get some objects printed is to allow it to take the longest possible time to print (with all the additional support)

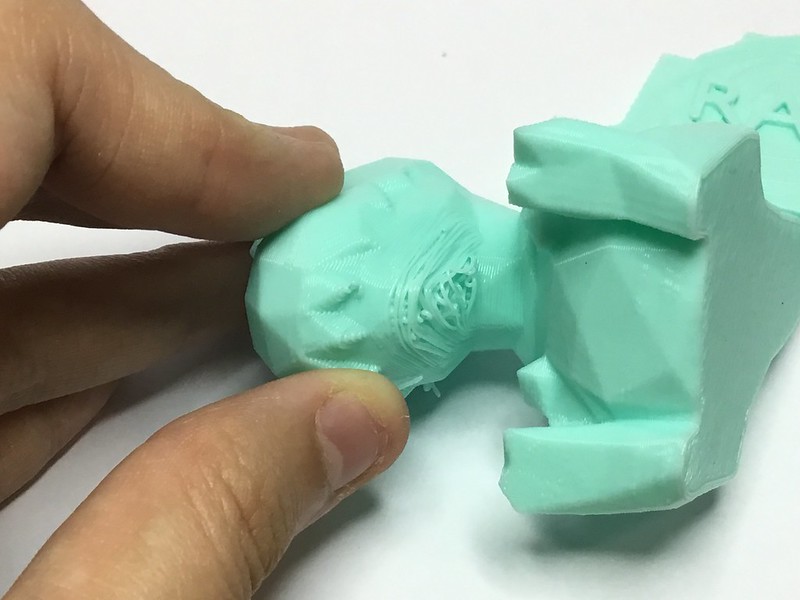
5. Ugly Overhang


Untitled

What is it? This is where you knew the printer would make a squiggly mess of the overhang yet you let it go on printing.

How to fix? Like the previous support issue, you just have to add more supports than you think you need. Or slice the item into half and lay flat the two halves to print.

6. Flipped Normals


Untitled

What is it? If your 3D model has errors or flipped normals in any portion of itself, it may be translated into a weird shell of itself if you forcibly slice it into gcode.

How to fix? FIX YOUR MODELS COMPLETELY BEFORE SLICING THEM.

Thursday, 15 March 2018

Bukit Timah Nature Reserve and Singapore Quarry

It has occured to me that I really should resume my documentation of various walks since some of my drafts are almost a year old now... SO I CAN KEEP IT CURRENT AGAIN IN THIS BLOG!!! Let me kick things off with a documentation of some of our weekend walks in Singapore...

Bukit Timah Hill Summit and Singapore Quarry


Untitled

Untitled Untitled

Untitled

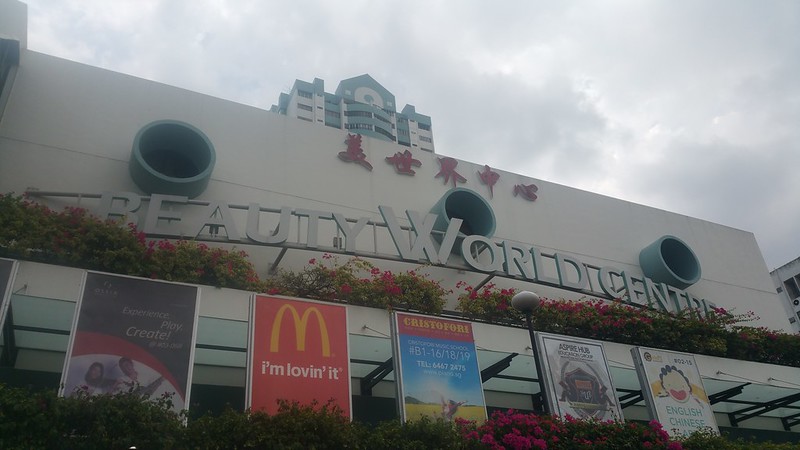
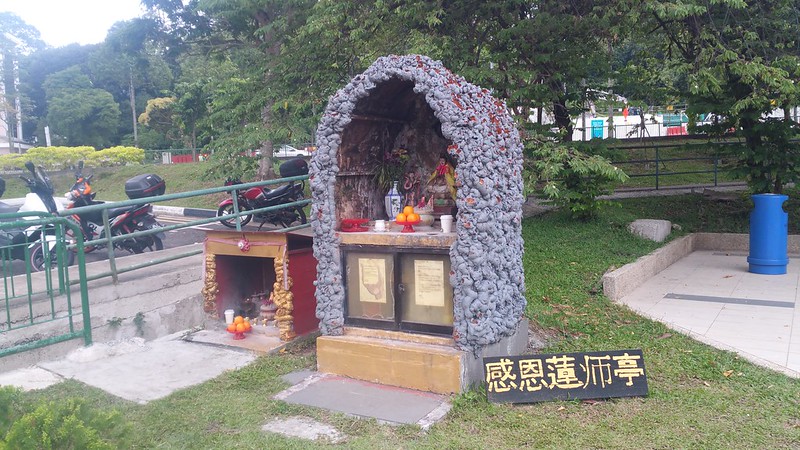
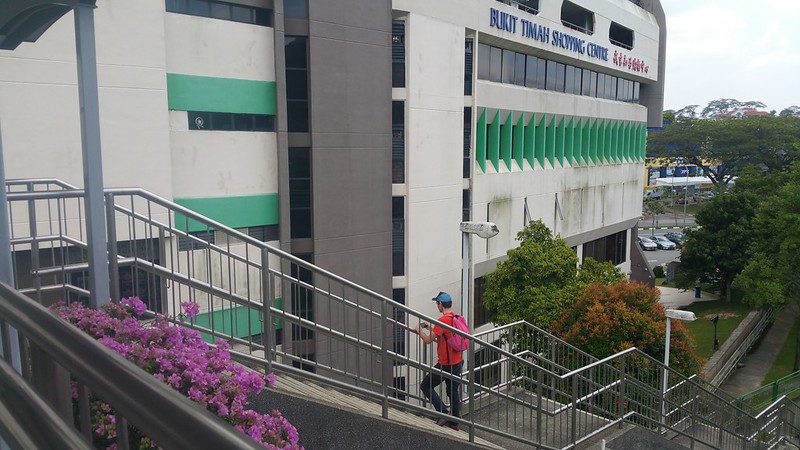
A few weekends ago we decided to go on a walk through the Bukit Timah Nature Reserve and began our journey on Upper Bukit Timah Road, near to Beauty World and Bukit Timah Shopping Centre, singularly populated by maid agencies and tuition centres. On the road itself at the end of the mall, there was this little "gratitude" altar made out of this extruded clay material. We were going to go through Hindhede Road and walk to the summit of Bukit Timah Hill...

Untitled

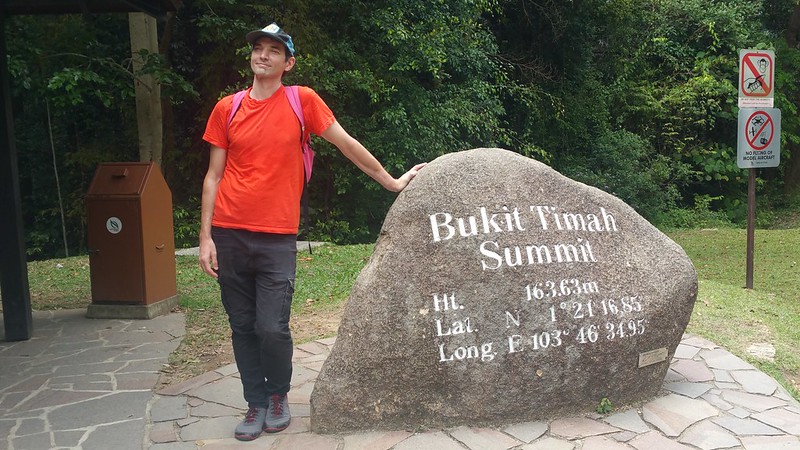
....and then maybe because its just Singapore being small, but it seemed as if we got to the summit almost immediately after a little walking uphill and then everything from there was downhill (literally). At 163.63m high above sea level, this is Singapore's highest hill (and largest primary forest, from which many botanical collections have been derived from). Deforested by the encroaching gambier and pepper plantations at its foothills, the forest was identified by the colonial government as an area to be conserved (although this only took effect after a significant portion of the forest was lost) and there were some reforestation works (largely involving economically useful trees though).

But is it so tiny? To be fair since we are talking of hills in cities, I looked it up for comparison: Hampstead Heath's highest point is 134m, Crystal Palace's Sydenham Hill is 112m, Muswell Hill is 105m, Highgate Hill is 100m. I suppose that most do not experience the hills in a direct fashion as our houses are not built on hills like these, whereas it is common to have houses on a steep hill in the UK. (I have a distinct memory of watching a television advert for a car on Singapore telly when I was young and snorting at the advert which was selling the fact that the vehicle could cruise up a 40 deg hill with a full load and no problem but in my limited experience when I was a child I never saw any hills matching that description in Singapore so it was a moot selling point to me!)

Untitled

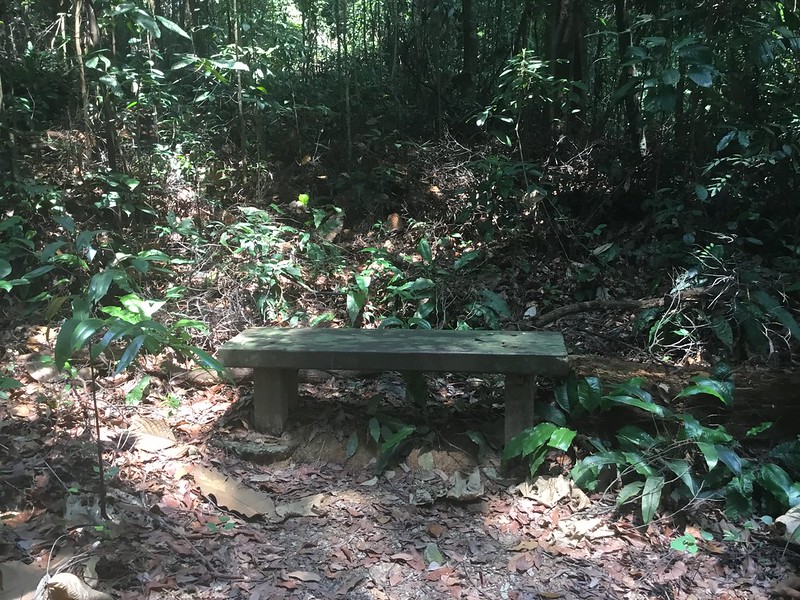
Lovely seat in the jungle - that is if you dont mind sitting still so that the mosquitos can eat you better.

Untitled

Untitled

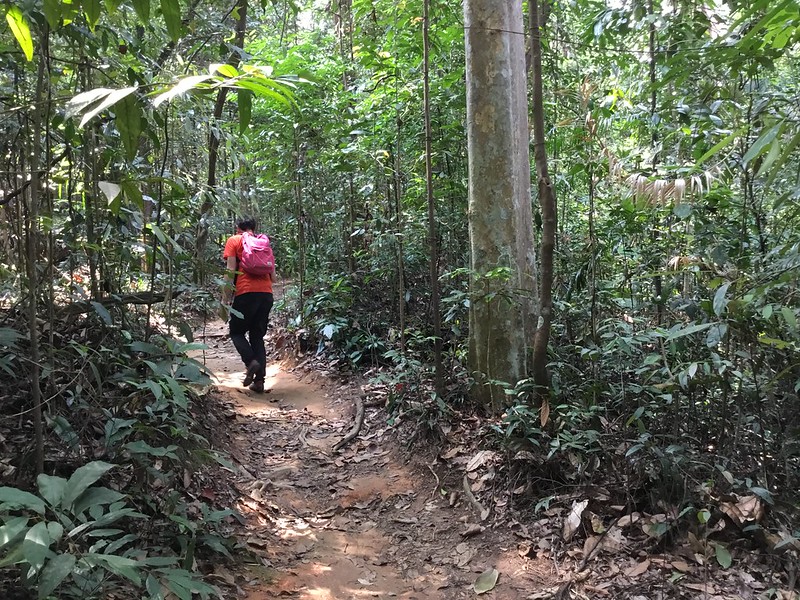
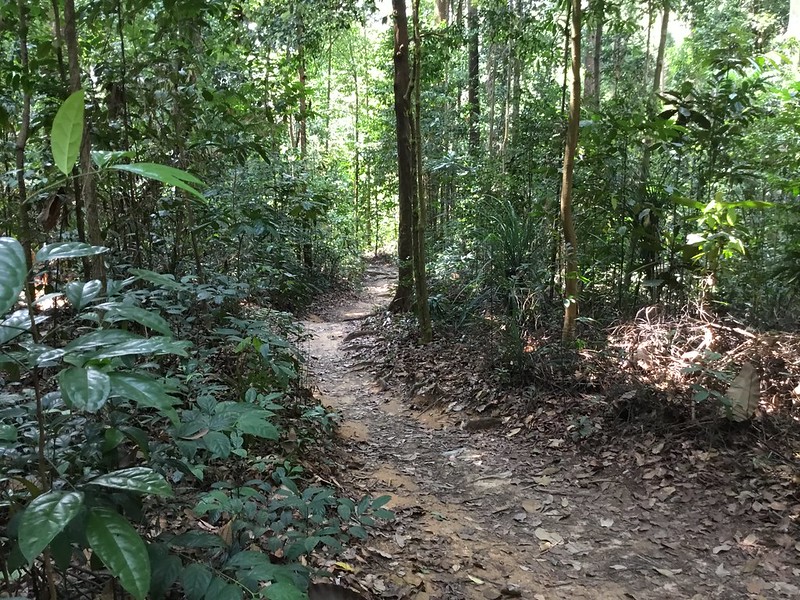
There were many forest paths but we did not see any unusual animals or monkeys. (Apparently I had oversold the prospect of sighting monkeys a wee bit too much to George)

Untitled

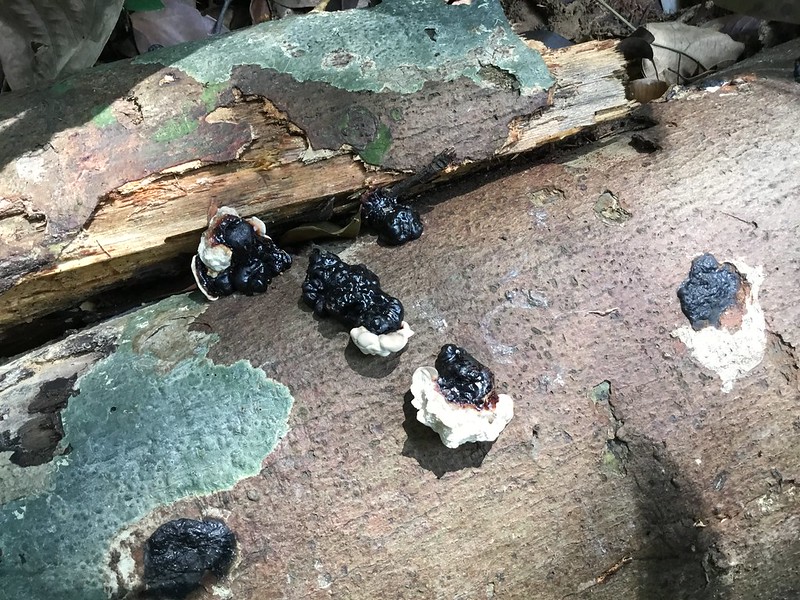
Weird black goo on a tree.

Untitled

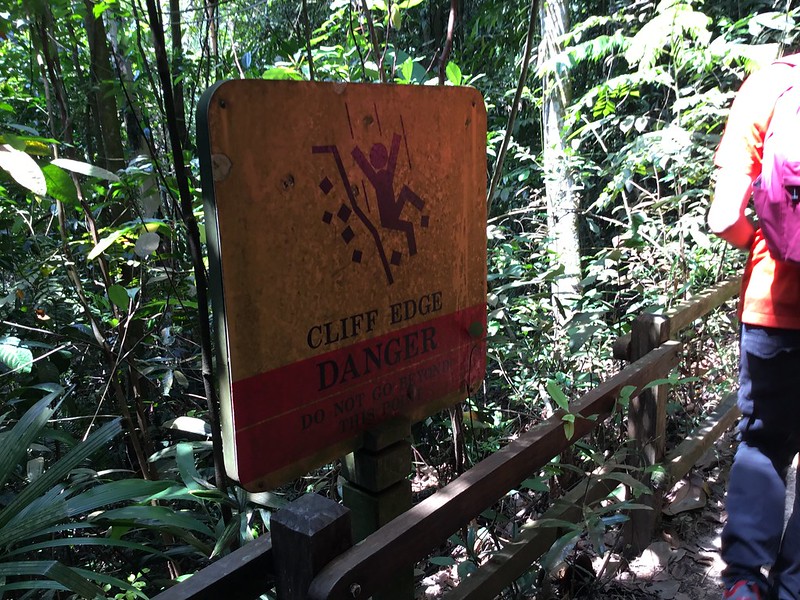
The cliff's edge

Untitled

Untitled

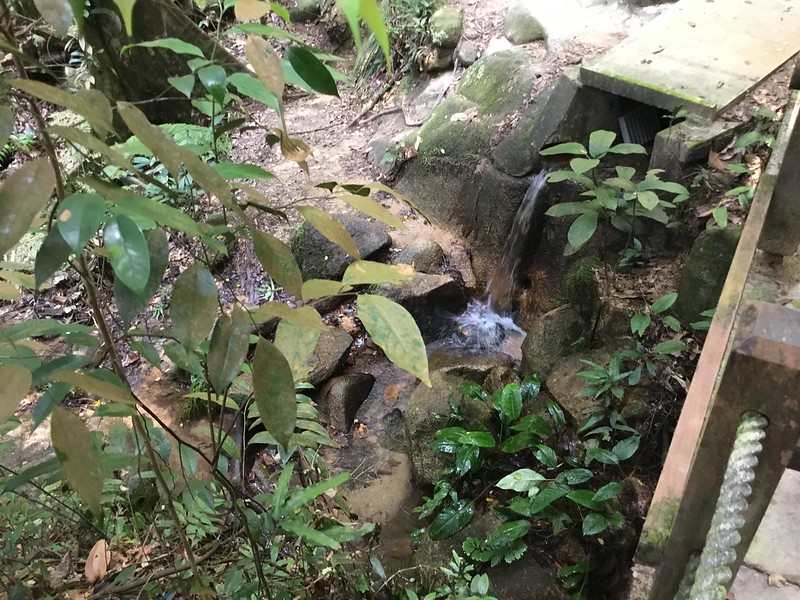
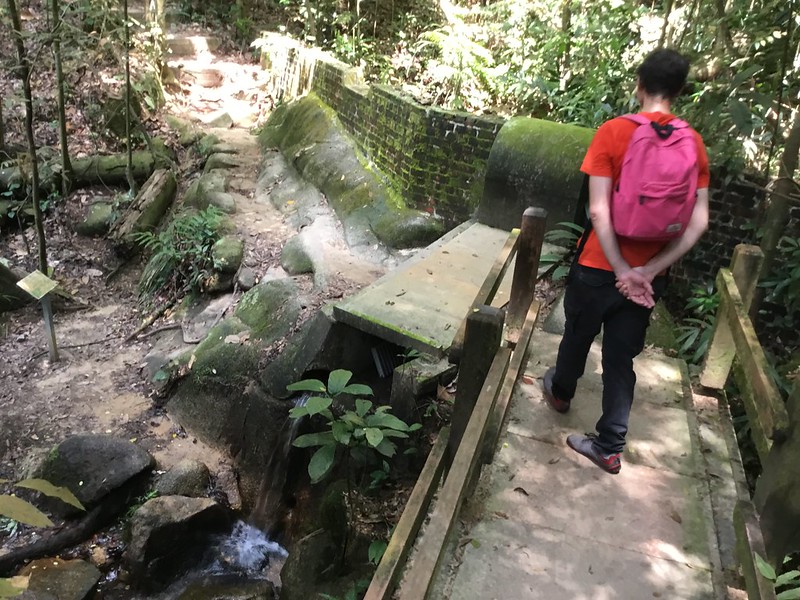
A little stream along the way

Untitled

Untitled

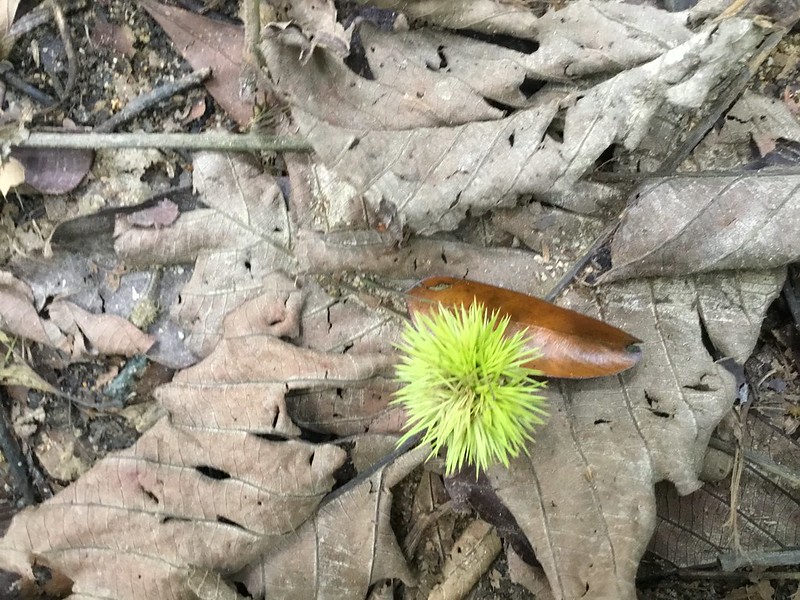
A prickly Rambutan, or an Allamanda's fruit?

Untitled

Untitled

Untitled

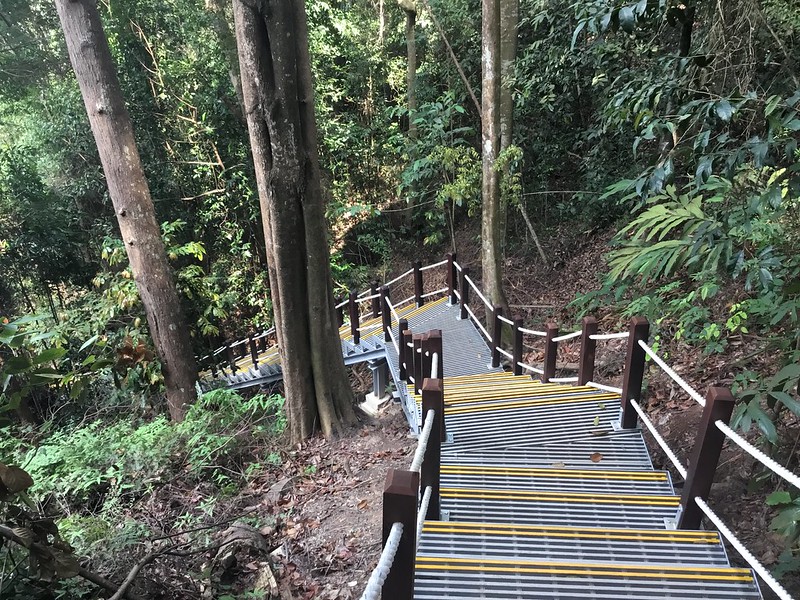
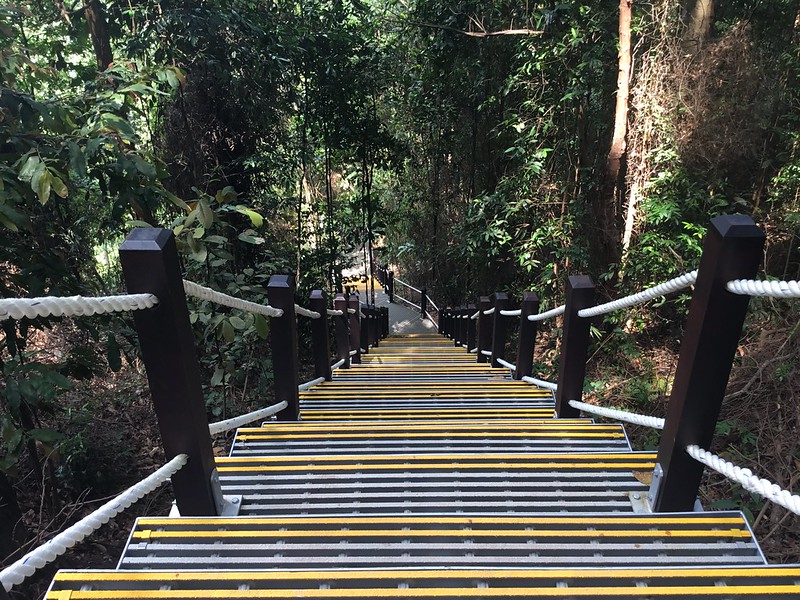
Long stairs down...

Untitled

Untitled

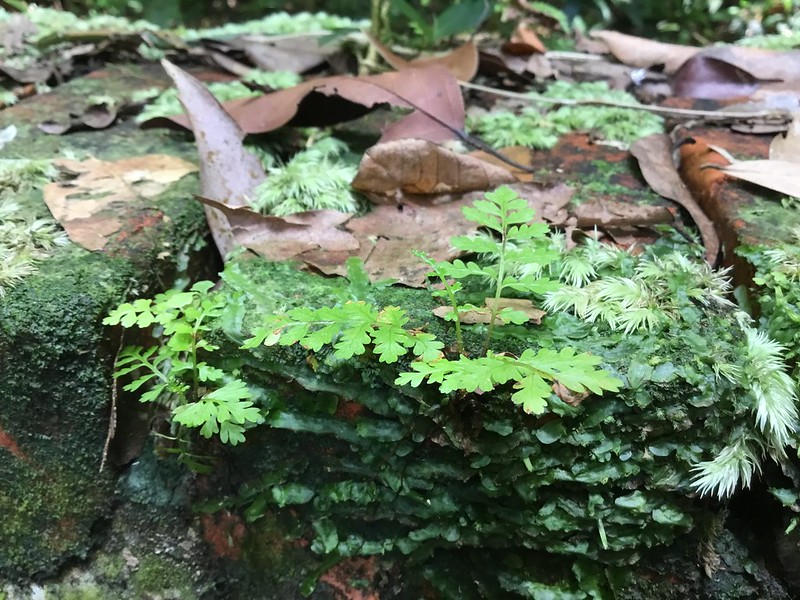
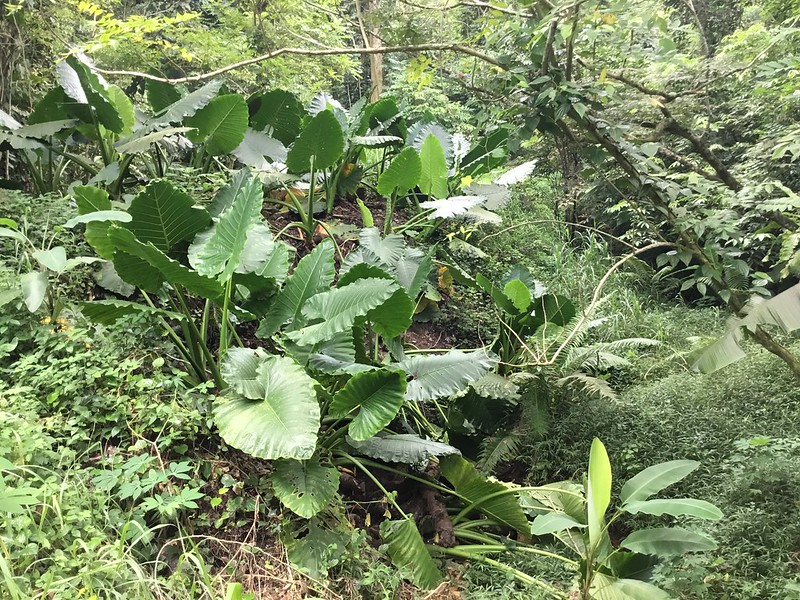
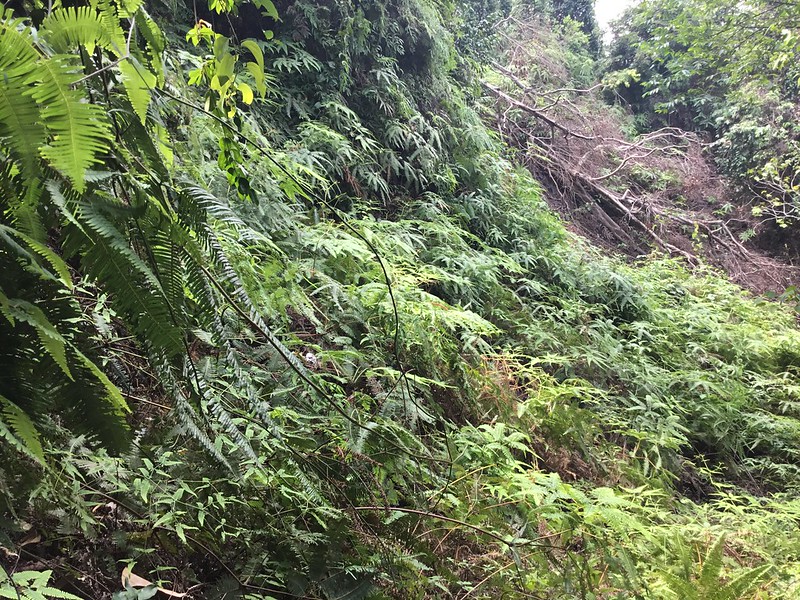
Leafy Ferns - Bukit Timah is known for its many ferns and there's supposed to be some "Fern Valley" in it but I don't know if this was THE fern valley.

Untitled

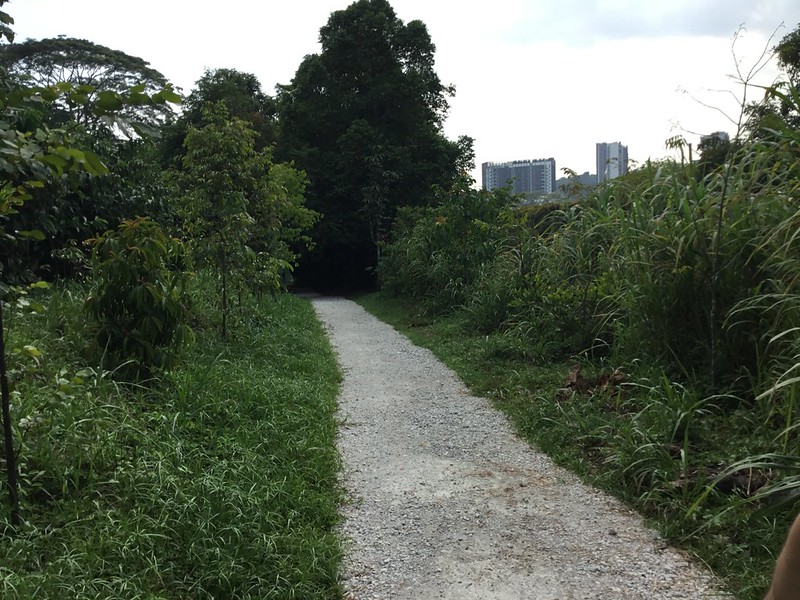
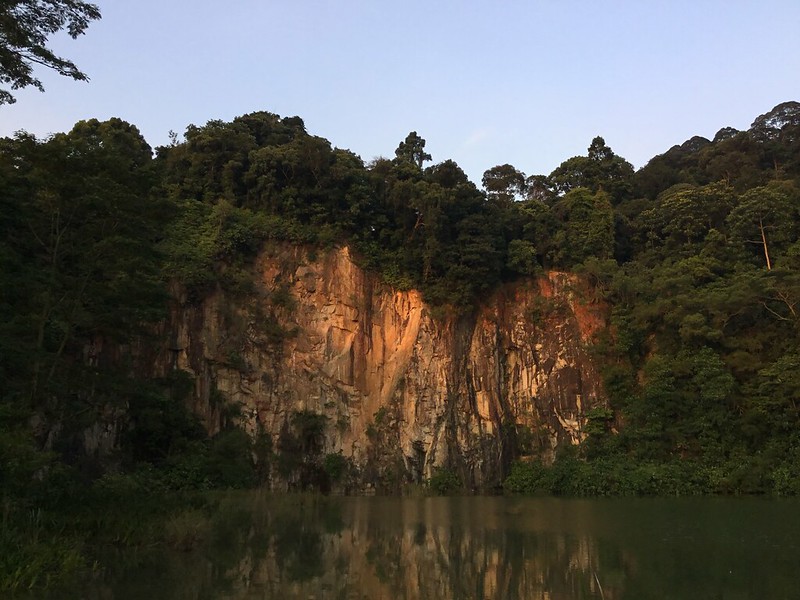
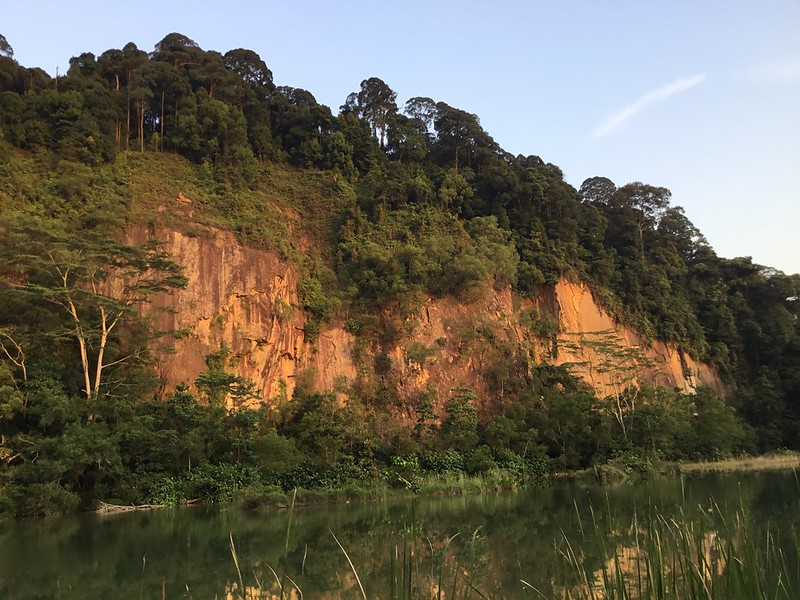
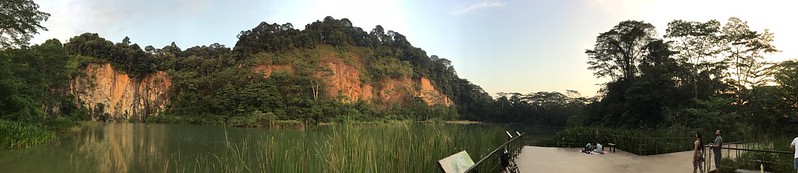
By this point we were back in Civilisation and along the roads, but since we were pretty close to the three granite quarries, we walked to the nearest one to us, which was the (somewhat unimaginatively named) Singapore Quarry, one of the granite quarry which have since been turned into a beauty spot where school children have picnics and people come to take scenic yoga instagram pics...

Untitled

Untitled

Untitled

Singapore Quarry

This walk took less time that I thought it would, but the heat and moisture does get in the way of things, giving the impression of a monumental exertion over what is really just a modest hill.