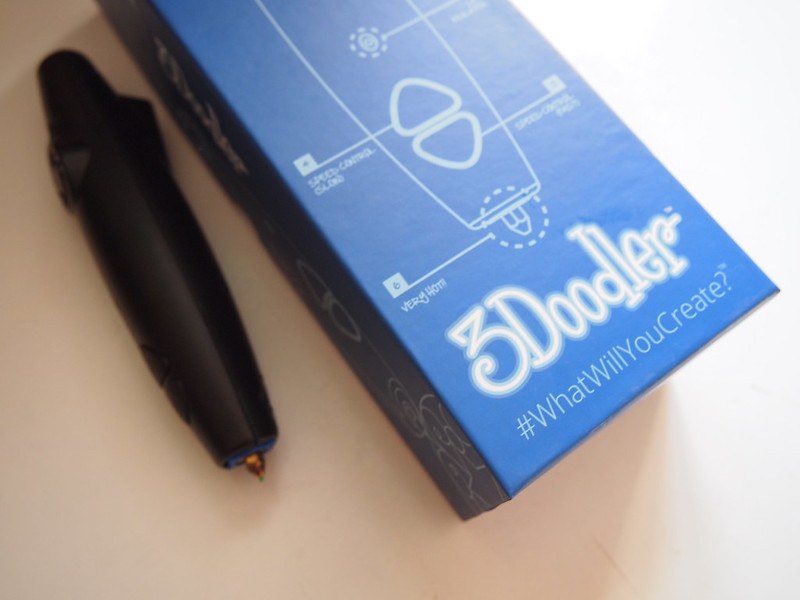
I got a 3Doodler last year but only brought it back with me from Singapore to London recently, as I had backed the Kickstarter long before I actually knew for a fact that I would move to London. I backed it for 85 USD, which is around £50/SGD106, and came with a few packs of ABS filament.
There seems to be dearth of serious, detailed posts on the use of the 3Doodlers - besides the endless pictures of deformed Eiffel tower sketches and squiggly bicycles and lopsided glasses being posted all over the internet. My experience with it was that it was very hard to control and a lot of my initial output looked very sketchy and generally very crap; it will take practice to get better results. Get ready to generate an unholy amount of terrible, useless solid squiggles. And if you were expecting to print something specific with angular and sharp detail, well, this is more like a very specialised glue gun which dispenses a 1mm line of ABS, so it seems to me that this messy, "sketchy" or amateur look to its output is almost unavoidable for most users.
After three weeks of using it fairly intensively, I'm finally getting the hang of the control of the tool, learning how to draw in the air, make consistently straight lines, make decent likeness of objects, and I've also figured out how to draw moving parts.
Simple Models
All the following models are actually hollow on the inside. While drawing them I pretended I was a very imprecise 3D printer and did it in layers. And because they are hollow, they are lighter and use up less filament.
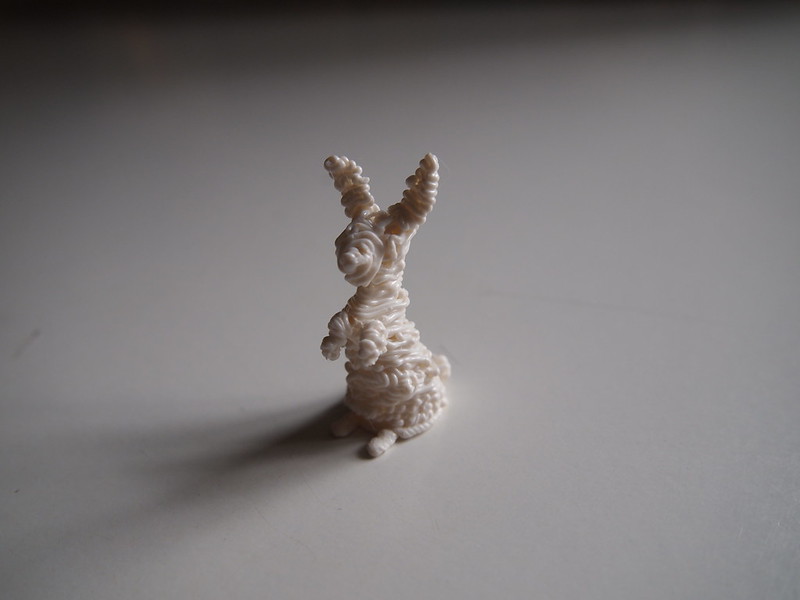
Rabbit model
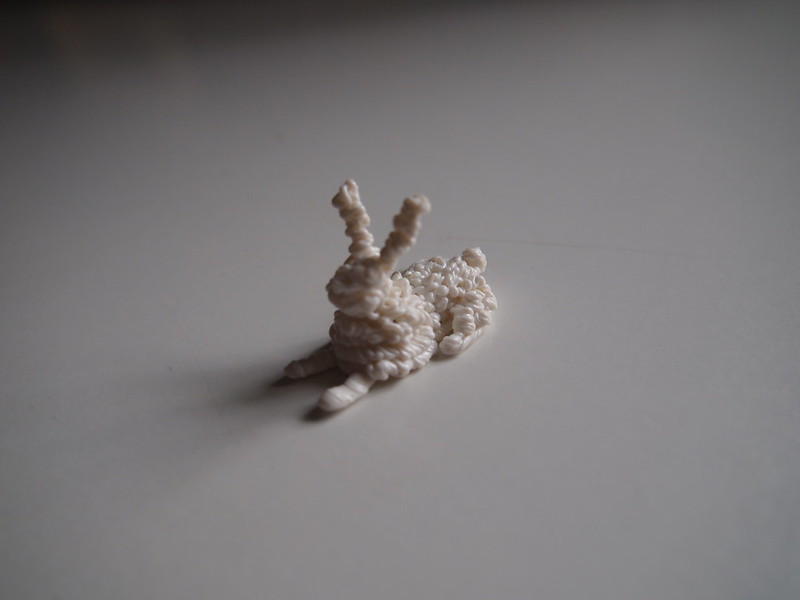
Rabbit model 2
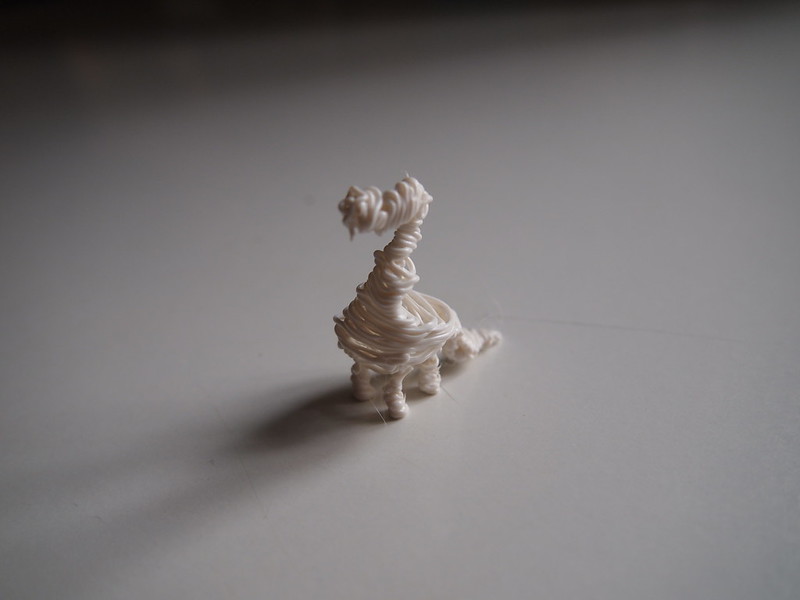
Dinosaur Model (with four feet)
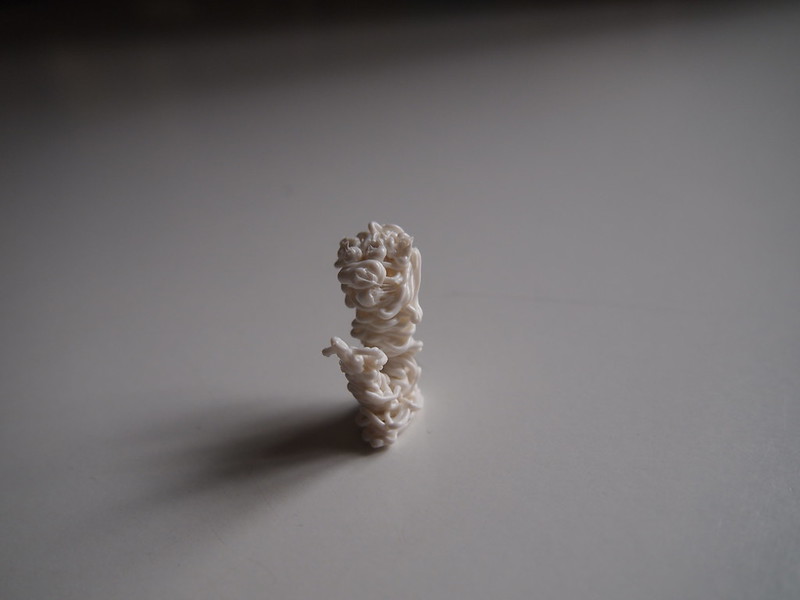
Impressionist Merlion Model
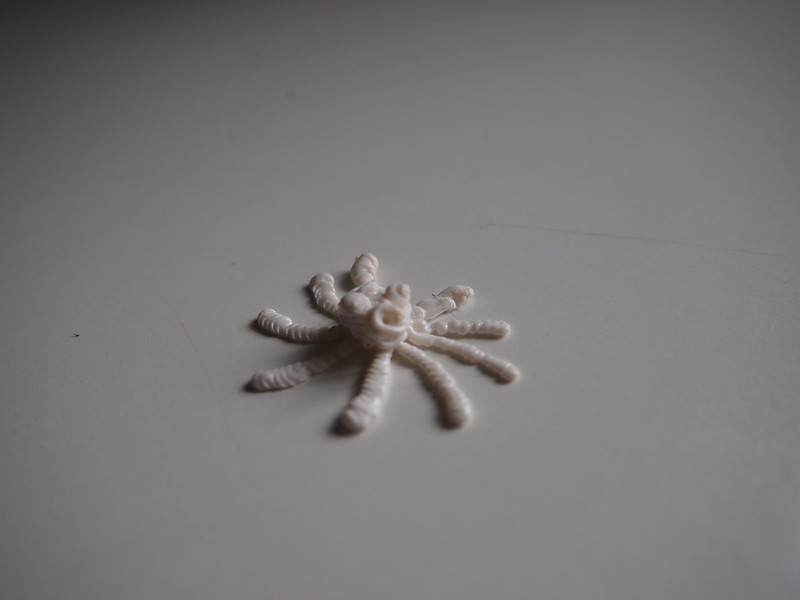
Octopus Model
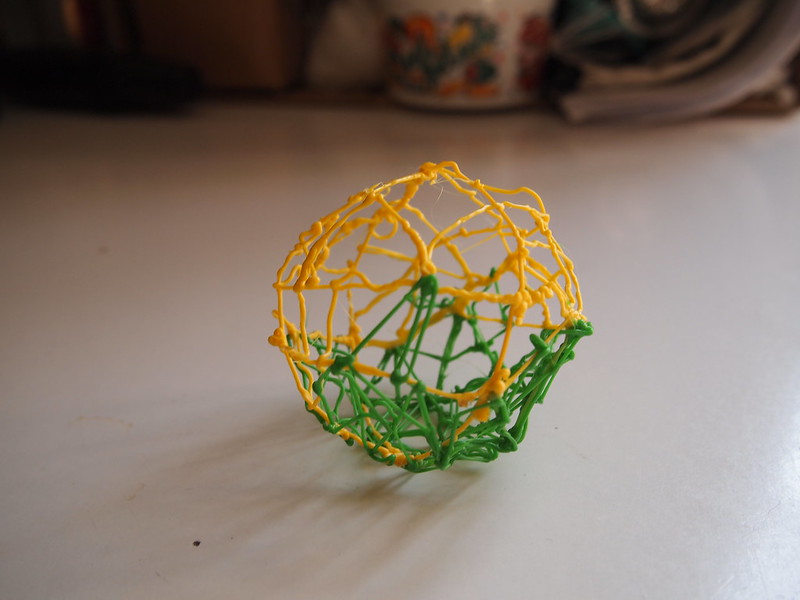
Ball (bouncy)
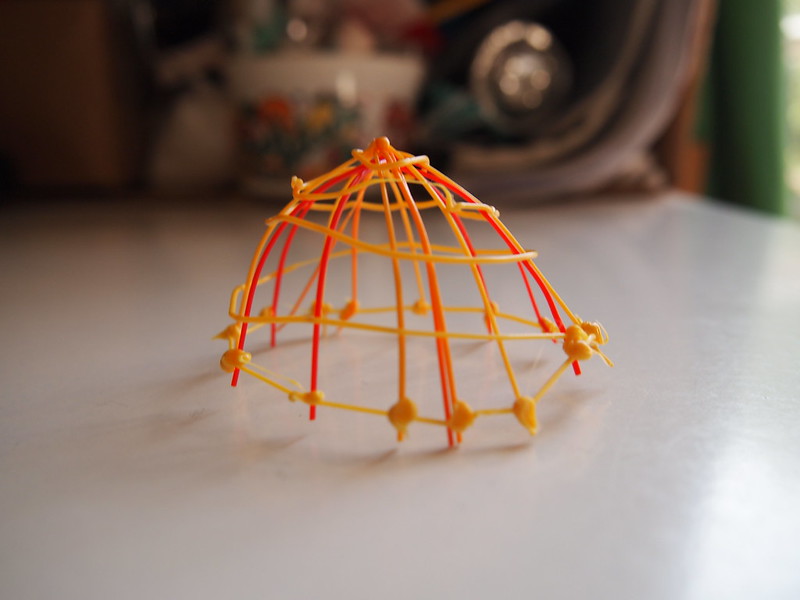
Geometric Half Sphere (half-heartedly)
Models with Moving Parts
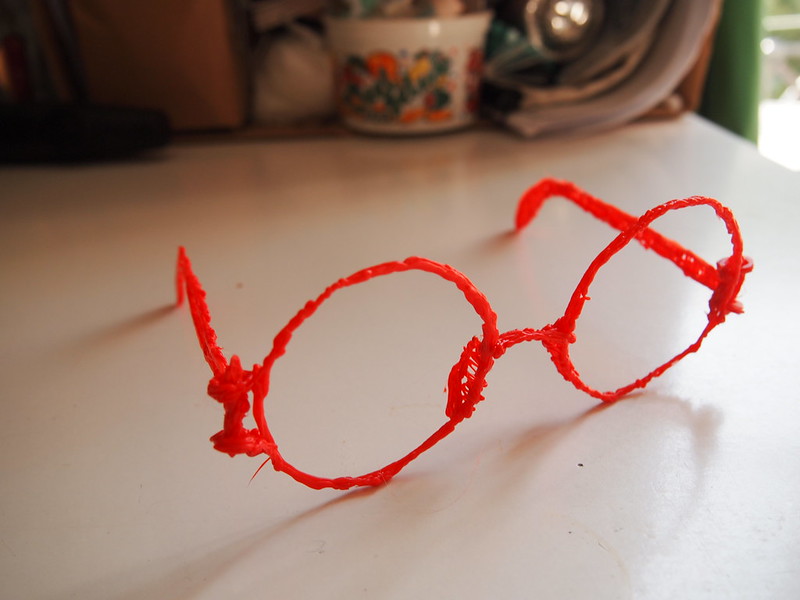
Improved Glasses
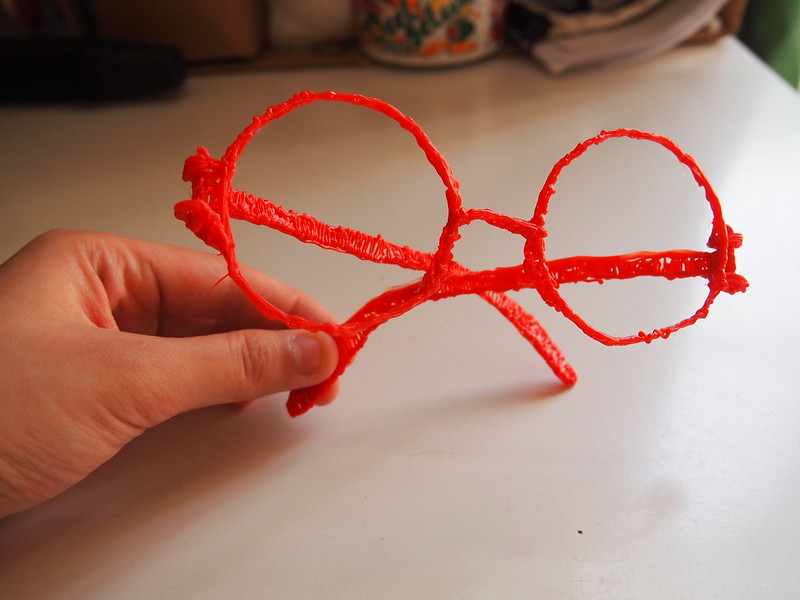
Improved Glasses (able to fold up)
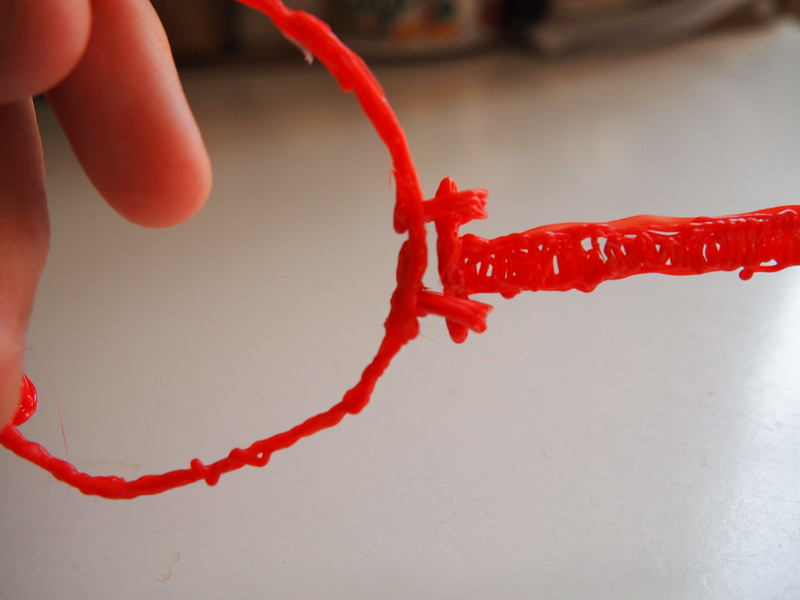
Detail of Hinge
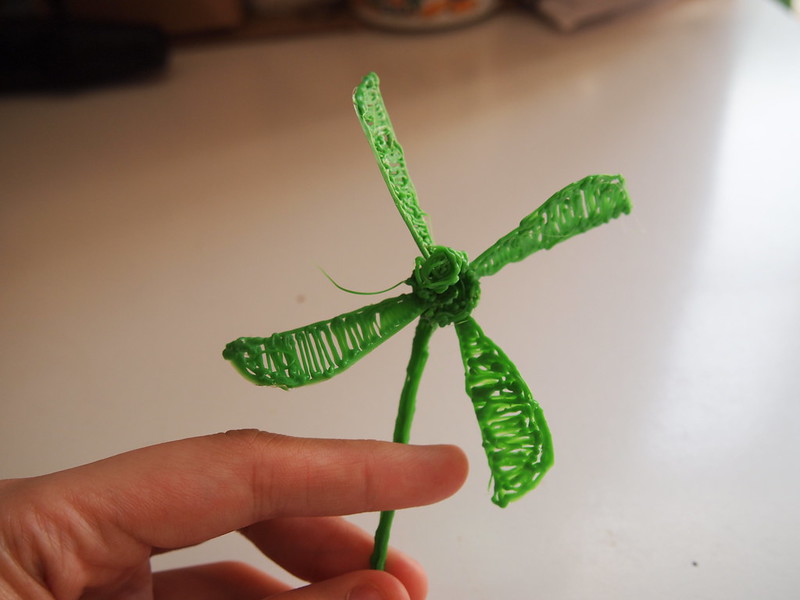
Windmill
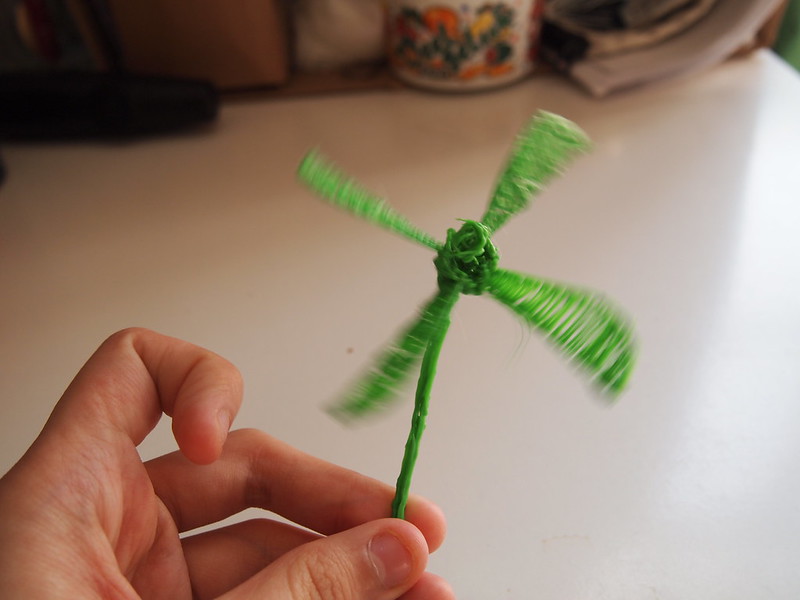
Windmill (in action - it even works smoothly when you blow at it!)
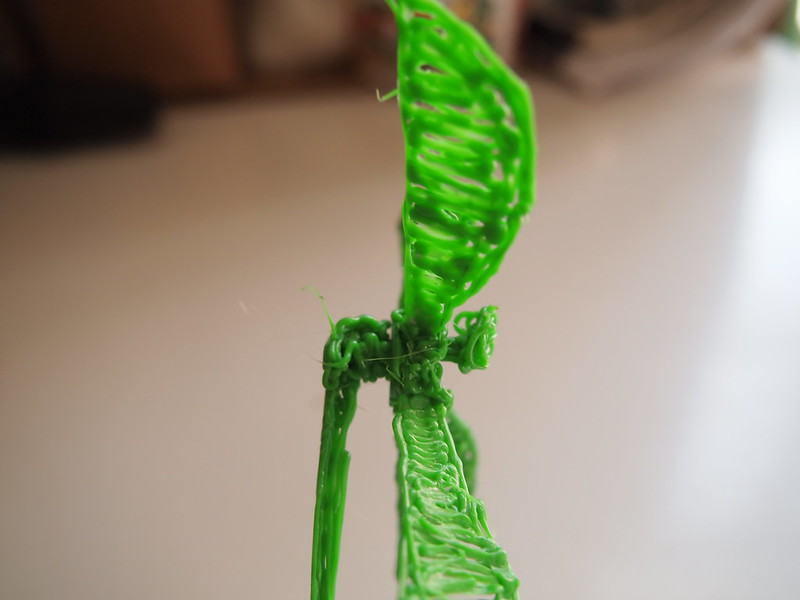
Detail of Spindle
Here are some more of my notes on 3Doodler use:
Loading plastic: You really have to jam it in when feeding it a new filament for the first time, until it "catches". The first time I loaded the plastic in, it seemed there was something yellow jammed inside it. I pushed and pushed very hard whilst pressing the slow extrusion button until the blockage came out. Basically you might find that you would need to push pretty hard to get it loaded; I was worried I was pushing too hard but yes that's the way it is.
Speed of extrusion: There are two extrusion speed options, one is "fast" (bottom button, closer to nib) and one is "slow" (top button). I find the "fast" speed too fast and only use the "slow" speed.
Removing plastic: Press both the "fast" and "slow" extrusion button to make the filament go in reverse so you can remove it.
Colour Bleed of plastic: A major issue I noticed is that the previous colour filament may bleed into the new colour filament if the former is a stronger colour than the latter. If your nib has a bit of melted filament on it, if you accidentally touch the nib on something else you might transfer that melted colour onto your other work, or even melt a little "dirty coloured" dent into your other work.
Drawing: As they recommend in their user guides, you should use a piece of paper as your base for drawing. This piece of paper will likely be destroyed, but its essential to give your drawing some starting point which does not move. The ABS will peel off easily when cool - sometimes almost too easily, so be careful while drawing.
When finishing a line, just stop pressing the button and stop moving the 3Doodler and hold it there until it all hardens. When it has (a few seconds later) you can just gently but sharply tug away from the line to detach the 3Doodler from the line that was drawn. If you move immediately after letting go out the extrusion button, this may cause a messy thin strand of residual melted ABS to continue to spool out.
For flat designs, you can draw an outline on paper and then outline it with the 3Doodler - just don't use pencil as it will transfer to the ABS. When doing this, take care NOT to press too hard into the paper if not you will be squeezing the nib into the extruded material, forming a small rivulet, gouged out in the centre of the line of extruded filament. There is a specific distance (which you will discover) at which you should hold the 3Doodler so that its extrusion comes out uninhibited but also straight/well-controlled so it doesn't go crazy and suddenly spool a big uncontrolled squiggle into your work. Sometimes when I extrude for too long in one go or try to drag out the filament more, I get small airbubbles in my extrusion.
For drawing circles, hold the 3Doodler upright when extruding it. Avoid holding the nib at an angle which will increase the likelihood of the circle suddenly collapsing or gathering up on itself, especially with ABS which is easily removed from the paper.
For straight lines in the air, make sure at least one end is grounded on a paper or a fixed point. Allow some quantity of ABS to extrude, and then quickly pull the resultant strand completely straight and hold it there until it hardens. If you don't want straight lines, you can nudge the extrusion gently for a moment or two after it has been extruded and you can guide it into a shape before it totally hardens.
Recycling Material: ABS (Acrylonitrile butadiene styrene) and PLA (Polylactic acid) are both technically possible to recycle. PLA is a bioplastic derived from corn starch so it technically can biodegrade very very slowly, although it would need to be sent to an industrial composting facility for that to happen on an appreciable level.
No comments:
Post a Comment