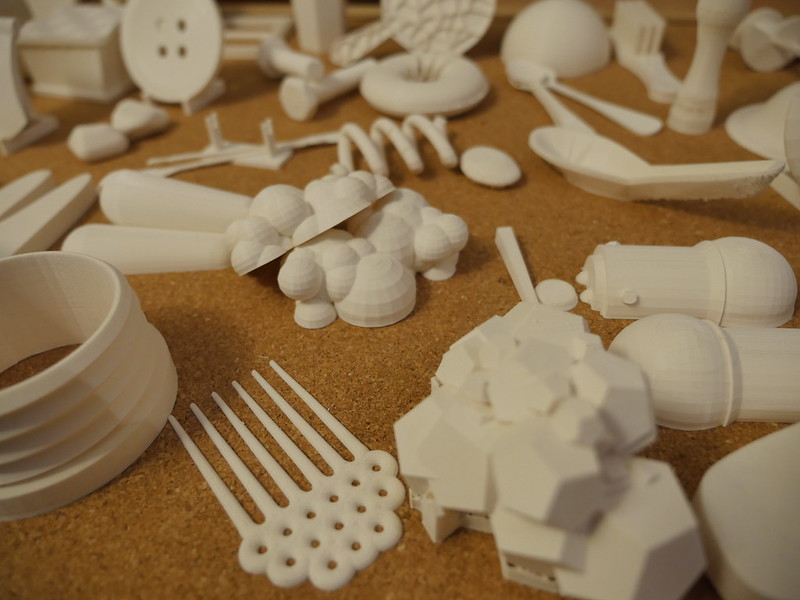
I spent the last few months producing over 100 prototypes for an exhibition which is showing at NUS Museum at this moment (It was also the work I showed at my graduation show at RCA). In practical terms, this meant that I pretty much sat next to the 3D printer the entire time tuning it. The conclusion? I NEVER EVER WANT TO RUN A RAPIDFORM SHOP THAT PRINTS THINGS FOR OTHER PEOPLE. Whatever the advertisements tell you about the miraculous magical instant dream of 3D printing - ITS A LIE. There are still many material limitations.
I have also thought very seriously about selling off the UM2 (FDM printer) to get the Form 1+ (SLA printer), but have come to the conclusion that it is not worth it. Here are some of my thoughts on both types of machines:
FFF/FDM PRINTER
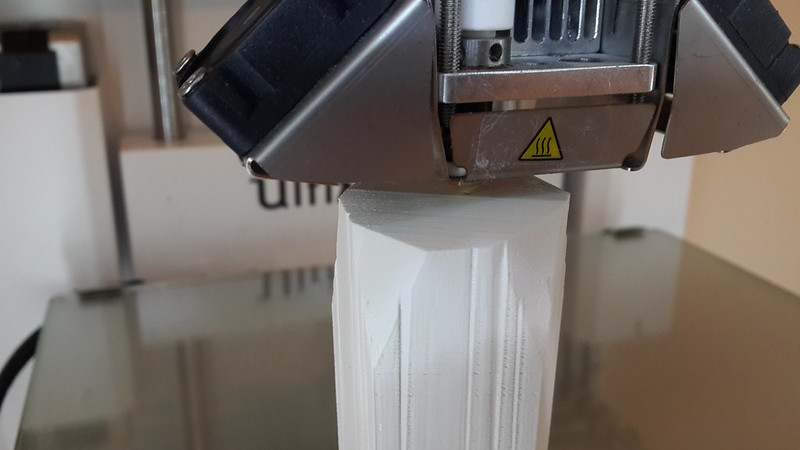
FDM stands for Fused Deposit Modelling but technically Stratasys owns the term FDM, so an alternative term for it (if you care about the legal semantics) is also FFF or Fused Filament Fabrication. The reason for so many cheap FFF machines is that the patent has expired on this technology so many cheap and DIY version of FFF machines have been developed.
Imagine a tiny jet extruding tiny blobs of plastic which solidify into a larger solid - which makes your object. Its that simple. I've been using the Ultimaker 2 so far, as it has had some of the best reviews. Although the UM2 technically can do up to 150mm/s, 50mm/s is usually the top speed that I can go if I want really high quality and no risk of unexpected under-extrusion. Most times if I see a "difficult" portion coming I might even tune the speed down slowly.
Printing notes:
1. Slowing down the first layer helps: If a print lifts off the heated bed on the first layer with a newly calibrated bed, I sometimes stop the printer and force the printer to start the first layer at a face-slappingly slow 15-20mm/s. This actually seems to make all prints work better in general. If the print is not well stuck on the first layer, the whole print may be problematic.

Fused Deposit Spaghetti Machine - first layer failed to stick to bed
2. Level the print bed: You can mislevel the bed such that if you are doing 4 prints on the same bed at each corner of the bed, then just one or two of them will be less "stuck" to the bed. So levelling the bed is important. At times, it just seems impossible to do right!...

Three were fine but one had a terrible and stringy brim
3. Don't print multiple prints too close to each other: If you print multiple objects on the same bed at the same time, sometimes the heat from the nearby prints can cause general warping or for parts of the "foot" of a print to curl up from the bed. I try to print objects one after another, not all at once, it seems to work better.
4. Increasing the temperature by 5-10 degrees can help - but only for a while: Raising the temperature slightly can help some prints along at times. But if you set the temperature too high for too long, it will burn the filament (it will turn brown in parts) and cause a filament jam.
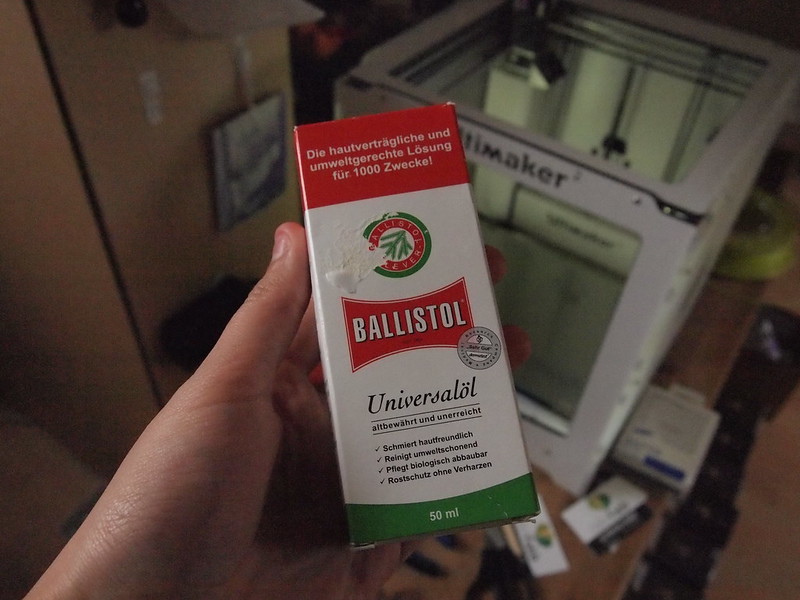
5. Get some good lubricant: You're supposed to oil the machine once in a while. I ended up buying Ballistol which is suitable for use as a gun parts lubricant. I'VE TRIED MY BEST, IS THAT STILL NOT ENOUGH FOR YOU, MACHINE?
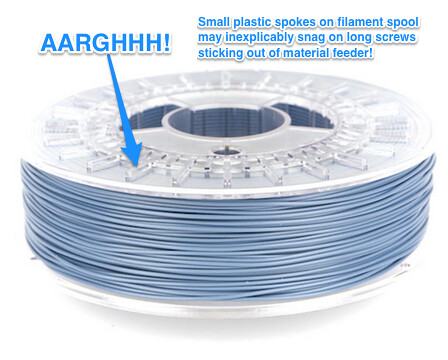
6. Check for random problems: Finally, I had a period where all my prints weren't working for a few days and it turned out that the colorfabb roll has a design which makes it snag on the especially long M3 screw I had sticking out of a new material feed that I had installed. AARGHHH! There was no choice as my local hardware shop only sells M3 bolts in a few fixed dimensions and that was the only one I could use. There was no way to stop it from accidentally snagging, and I couldn't find replacement bolts immediately, so I eliminated the filament spool entirely and unrolled it out. Actually, after this I managed to print without A SINGLE FILAMENT JAM for a few solid weeks. MIRACLE!!!
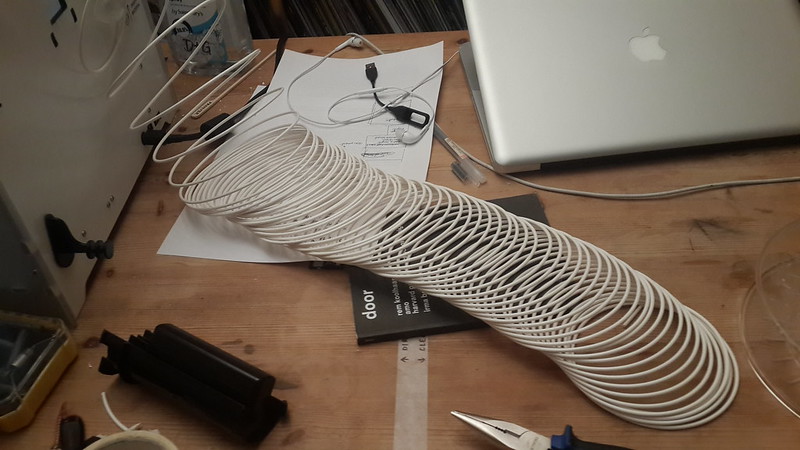
Who cares if this looks like crap on the table if it works
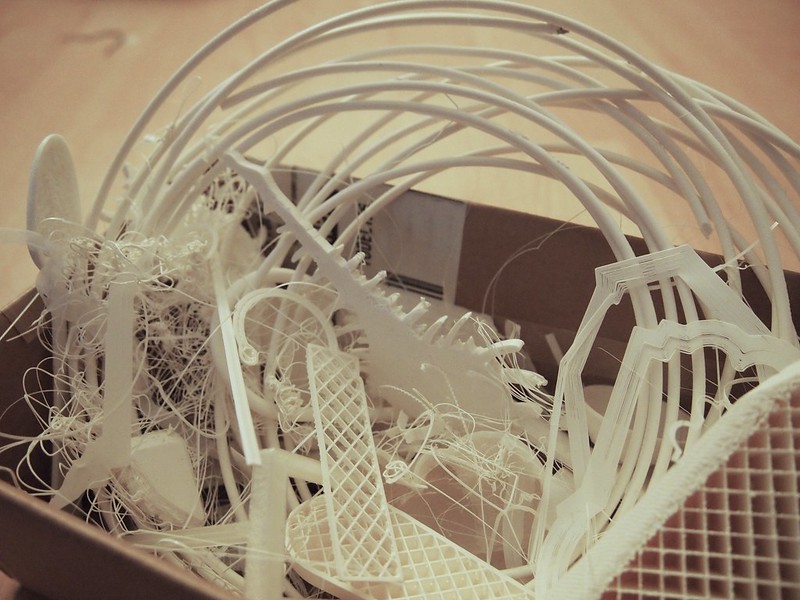
Countless ways to do it wrong
Basically FDM printers can seem frustratingly temperamental because they won't tell you exactly what is wrong with them, so you have to figure out what went wrong. Most of the time the under-extrusion problem can be due to filament jam (mechanical issues), temperature problem, speed problem, etc.
SLA PRINTER
In Stereolithography, laser shoots through a photo-reactive resin/polymer bath and solidifies parts of the liquid into a solid, then the print emerges from the liquid bath like terminator.The main reason why I never got an SLA printer in the first place was because the 3D Printer was going to live in a home environment. But since George and I moved to a big new house in March I thought for one brief moment of madness that maybe, maybe, I could allocate some space to a Form 1. But the problem is that I still cannot justify having a machine with such toxicity to humans and environment, as the prints would require curing treatment, which can also affect the size of the print (possible shrinkage/curling). And although SLA prints would have the potential to have thinner walls and higher detail without as much overhang problems, the type of materials and colours in which I could print with would be much more limited.
My assessment is that as a user I mainly want:
- large range of colours
- large range of cheap materials
- a dry work room (no "dirty" sinks)
- not having to potentially contaminate my living/working space with fumes
So FFF/FDM wins over SLA.
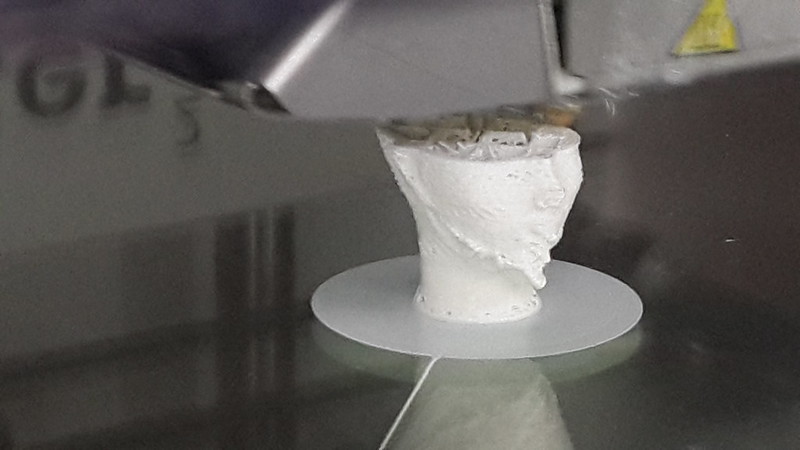
Maybe I will just have to embrace the UGLY OVERHANG aesthetic...
I also don't know how our pet snails feel about having the 3D printer next to their tank. There is no precedent for this even - I can't simply google for "Are snails disturbed or traumatised by stepper motor sounds? Or do snails enjoy the vibrations from 3D printers?". Anyway, more on our friendly domestic slimeballs in the next few overdue updates of this page...
No comments:
Post a Comment